.png)
by BrianSheron
All photos by author
Here are 10 simple modeling tips for improving the realism of your layout.
1.) Wax paper behind windows - A lot of model railroad structure kits come with clear plastic for the windows. If you don't want to model an interior on these buildings, and/or want to put an interior light in them for night time scenes, but don't want people to see the unfinished interior, glue a piece of wax paper behind each window. The wax paper will still allow an interior light to show through, but will diffuse the light and not allow the unfinished inside to be seen. Here is a kitbashed factory I recently installed on my layout with waxpaper behind the windows.
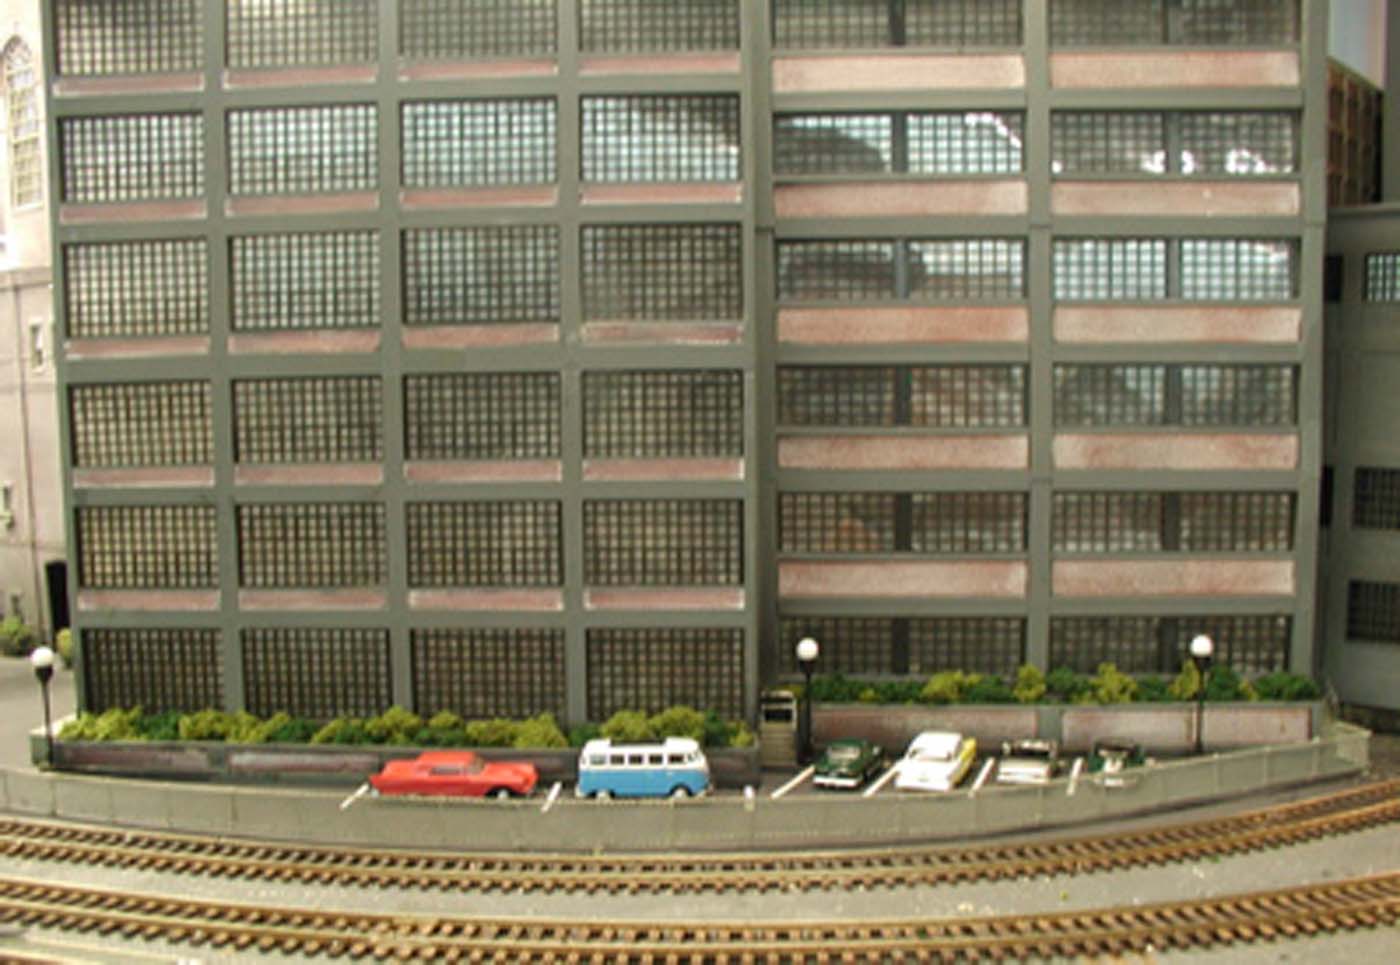
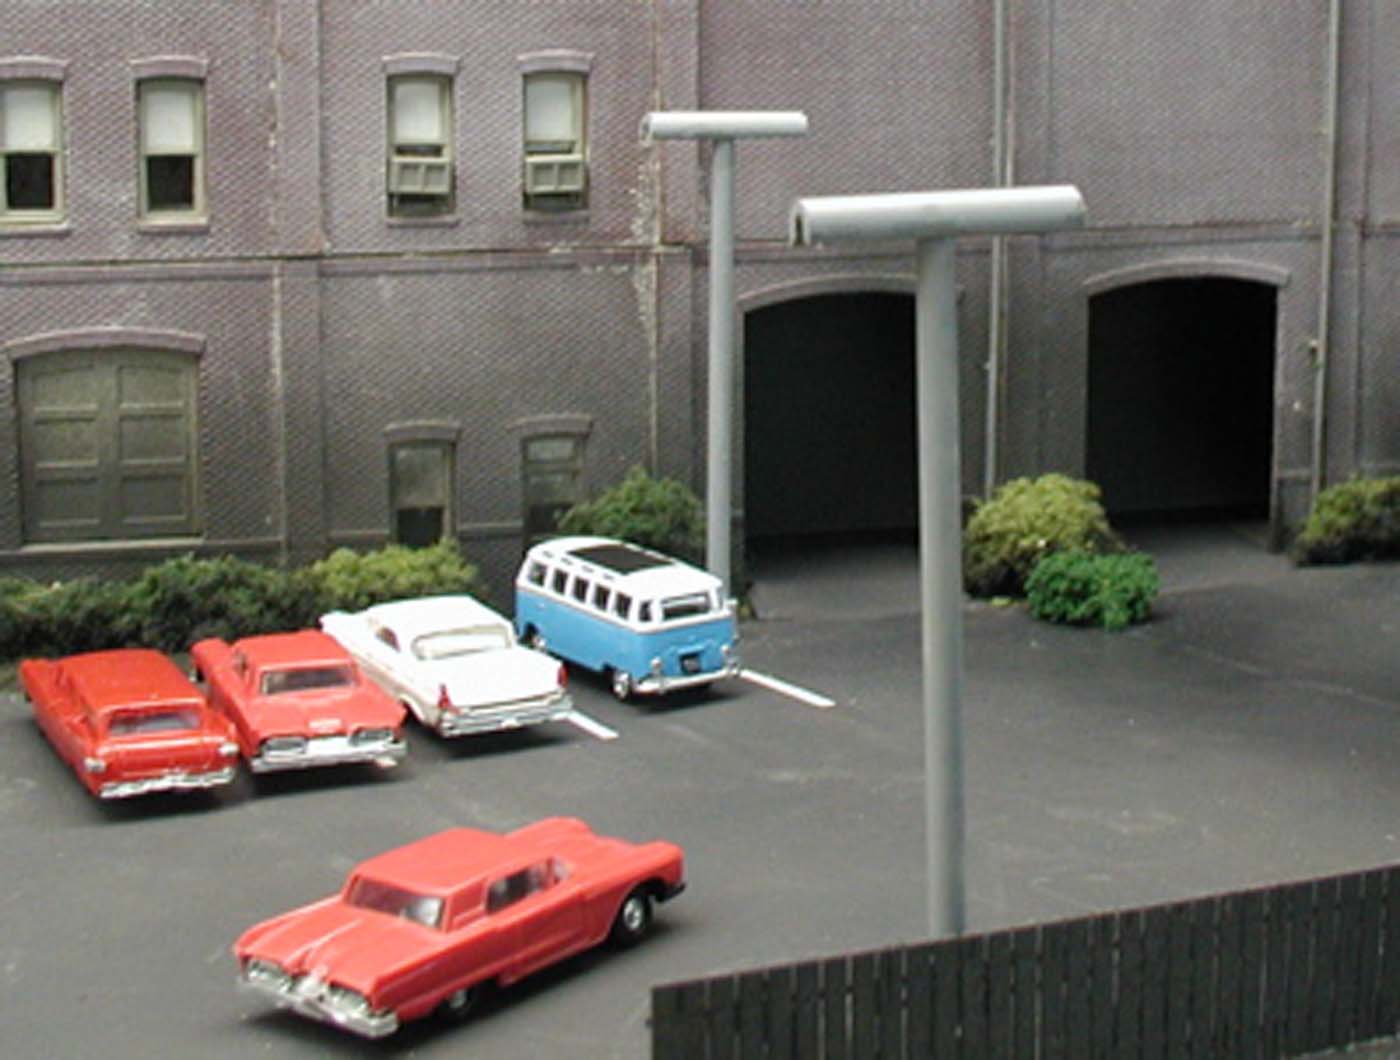
2.) Sandpaper to simulate asphalt parking lots - Use some fine grit (e.g., 220 or 320 grit) sandpaper to simulate an asphalt parking lot. The sandpaper grit simulates the texture of asphalt and is uniform. If you buy the dark gray-colored sheets, it is pretty much the color of asphalt already. I attached mine by spraying artist's adhesive on the back of the sandpaper, then pressing it in place and putting weights on top until the adhesive dried. The figure shows the sandpaper "asphalt" in place. Also seen are the commercial outdoor lights described in item 10 of this article.
3.) Graffiti Decals from your Computer - With the advent of home computers, you can now make your own decals. Obtain some clear decal paper compatible with your printer (i.e., ink jet or laser jet). Your computer will have a variety of fonts. Scroll through the fonts an you will likely see a number of them that resemble graffiti. I also found a web site that has dowwnloadable graffit fonts. Go to www.graffitifonts.com. Start typing typical graffiti phrases. When you have all the graffiti you need, hit the print button, spray the decal sheet with decal sealer, let it dry, and then apply graffiti to you rolling stock, retaining walls, etc.!
4.) Simple Signs from your Computer - As you drive around, you probably may not notice, but everywhere-yes everywhere - there are signs. An easy way to make all sorts of signs for your layout is to create them on the computer. Once you get them to your liking (font style, size, color) print them out on plain white paper. (I have also found tthat surfing the web can turn up pictures of posters, signs, etc., that you can drag into a drawing program, and then print them on out.)
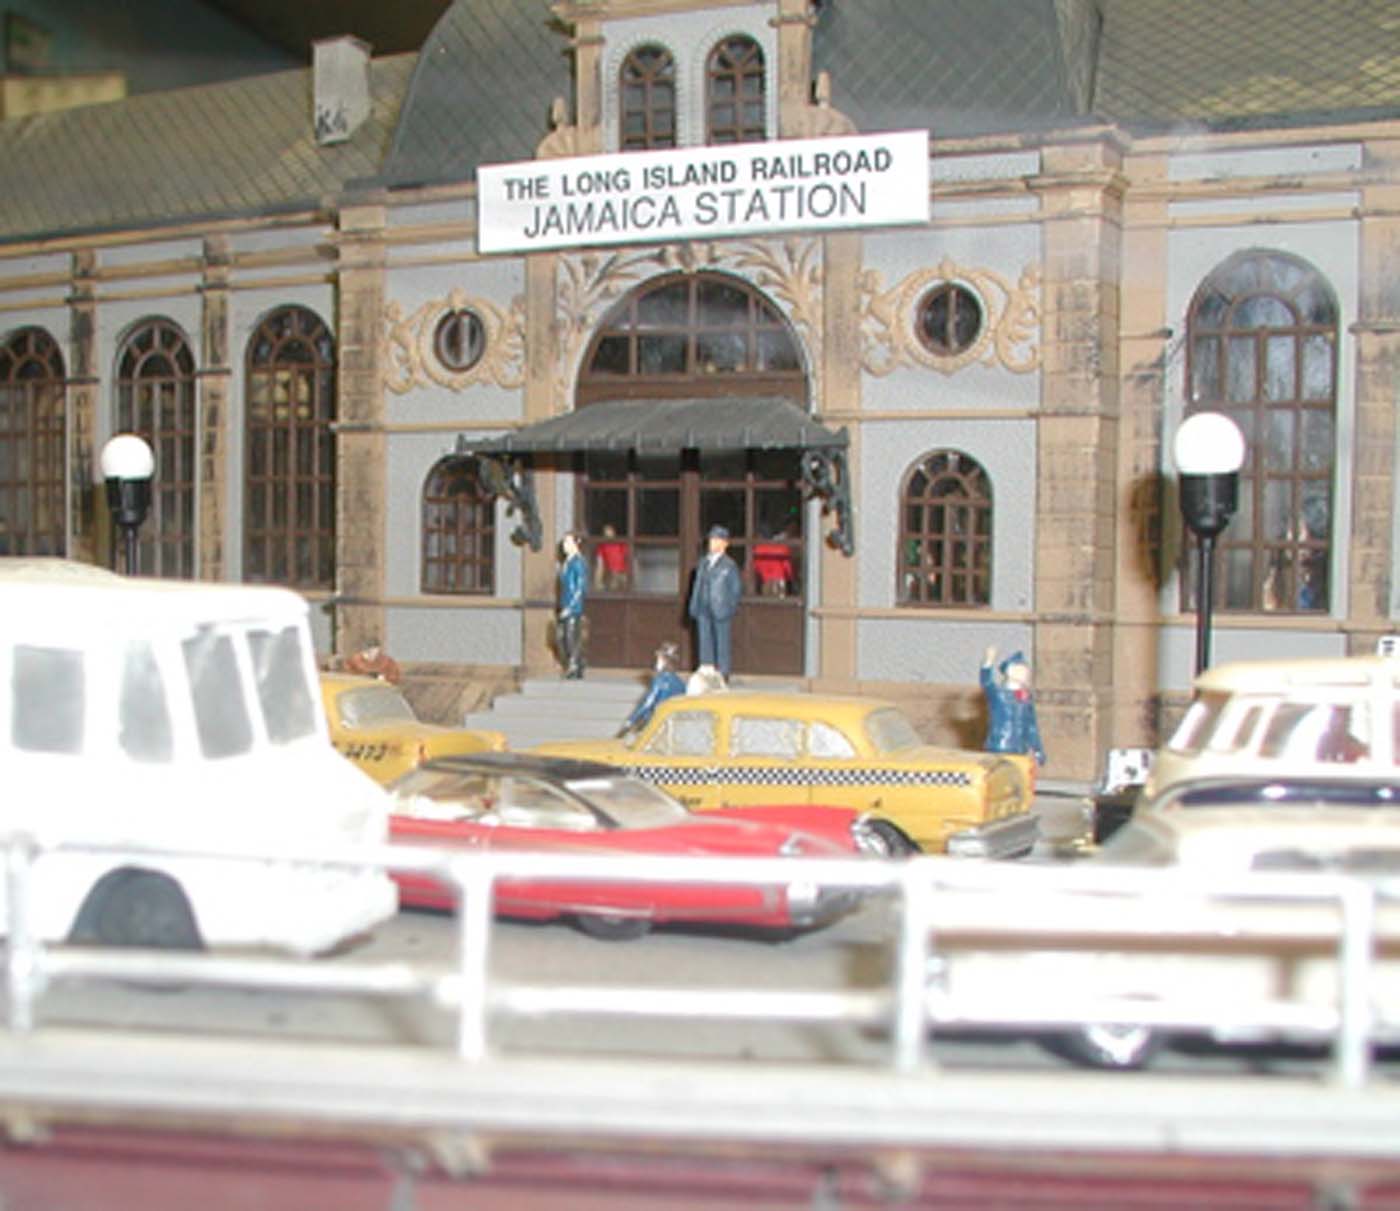
Spray a thin sheet of styrene plastic with artist's adhesive and glue the paper with the signs, posters, etc., printed on it to the plastic. When the adhesive is dry, use an Xacto knife and cut the signs out. Because they are mounted on styrene plastic, you can attach them to any other plastic surface with styrene cement. An example is shown in the figure.
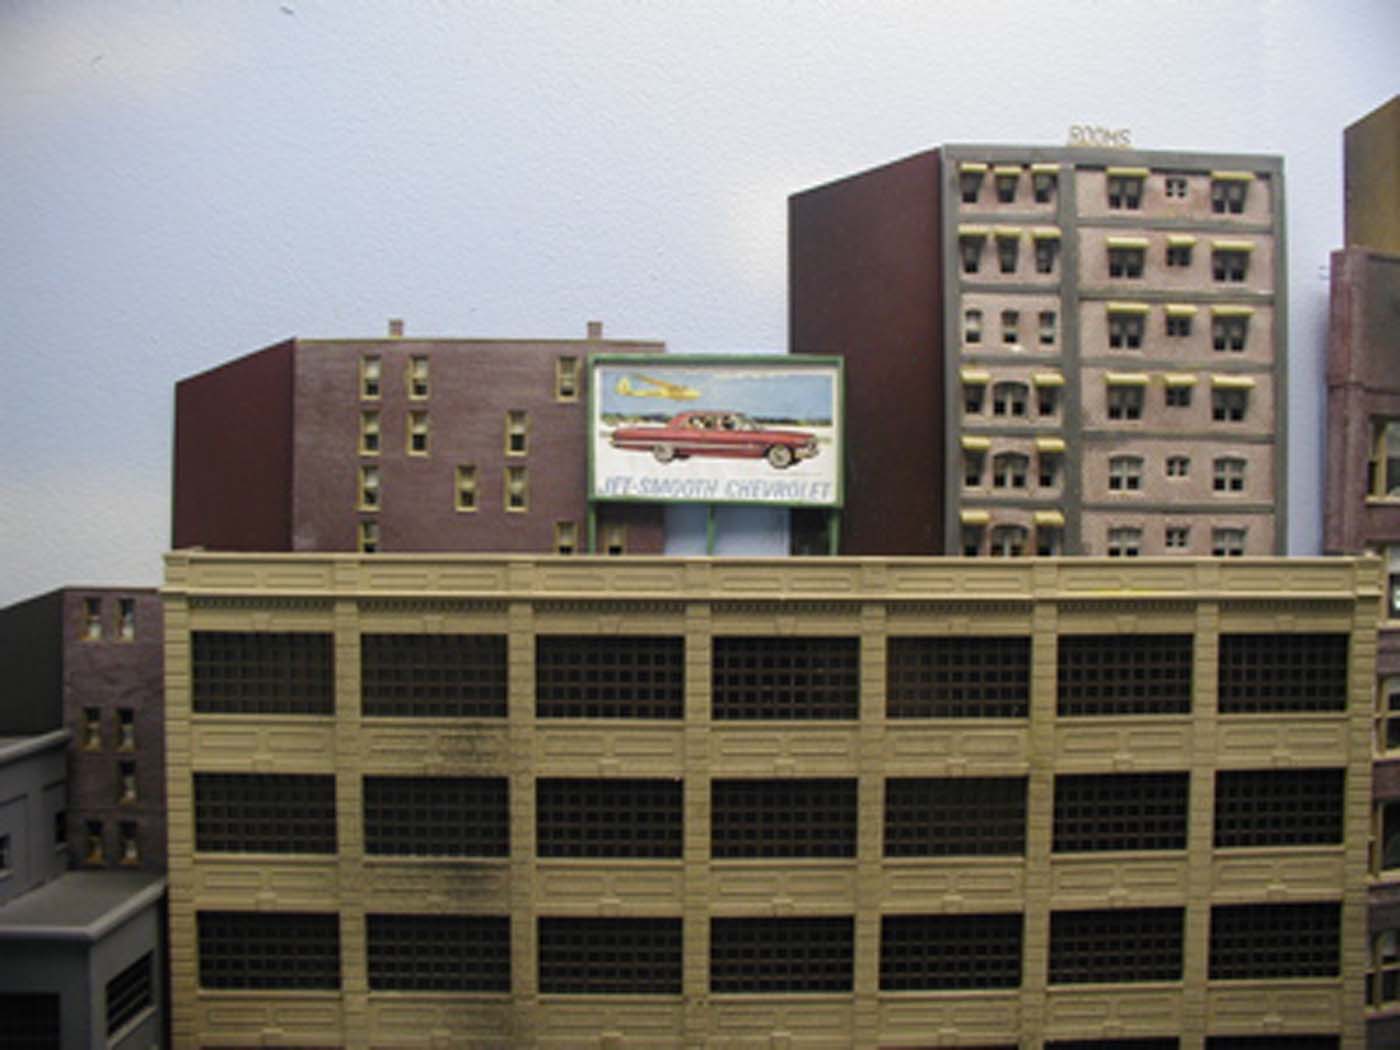
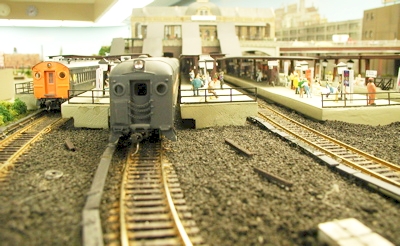
5.) Smaller Scale Buildings as Background - If you have an HO scale layout, and have an urban scene with HO scale building fronts against the layout wall, you can create the illusion of depth by gluing N-scale building fronts along the roof edge of the HO building so it appears that these buildings are in the distance (see figure). If you have an S or O scale layout, try using HO scale building fronts.
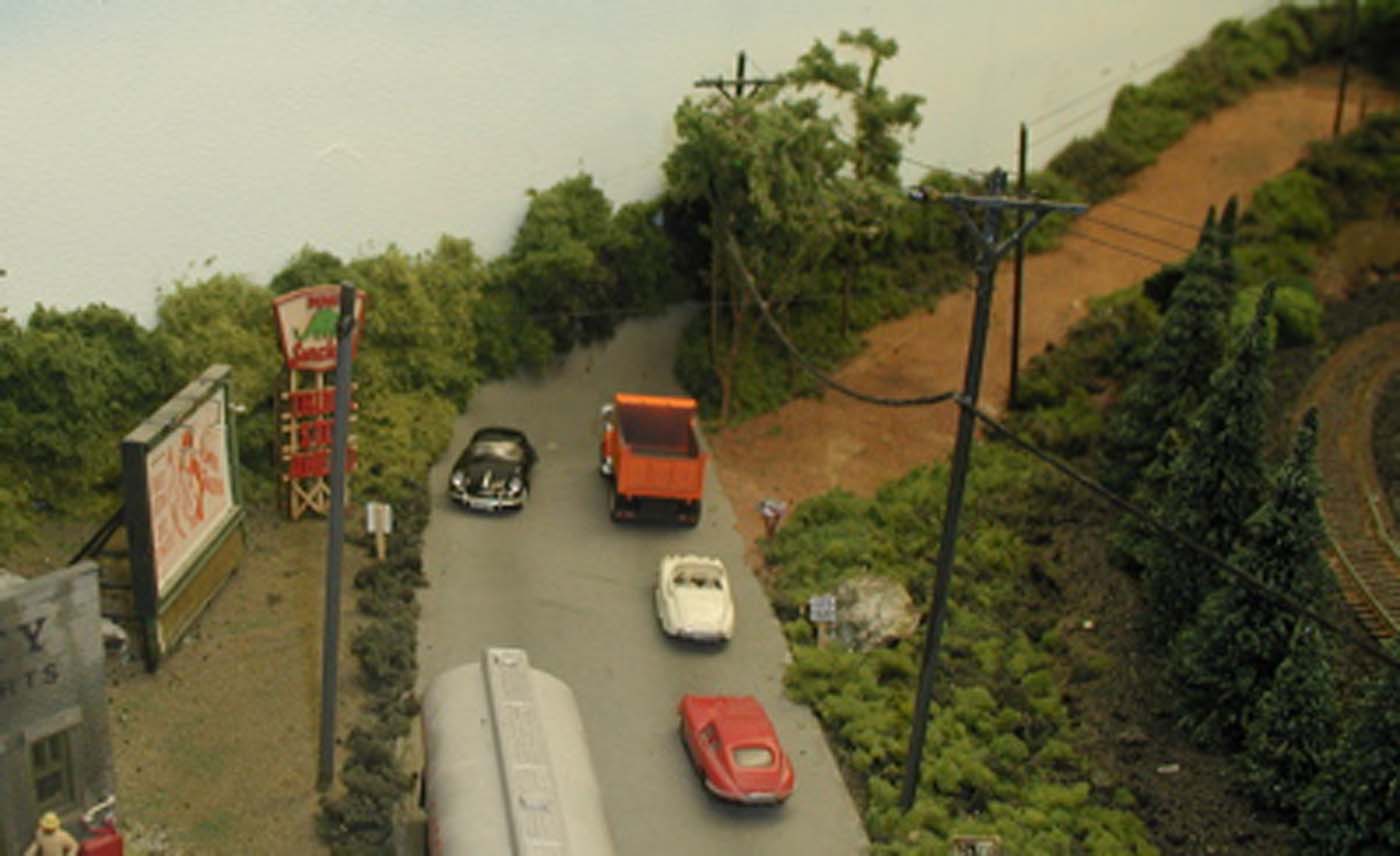
6.) Using Modern Vehicles on Older Period Layouts - You are at a model train flea market, or your local hobby or toy store, and discover some commercial vehicles (e.g., a cement truck) that are being sold for a bargain. (I was in my local hardware store and found Boley HO International trucks for $2.99 each!). For all intents and purposes, it looks like a vehicle from the era you are modeling, except that the front of the cab has a modern grill and headlights, You don't want to pass up this bargain, but the vehicle era is just wrong! Don't despair. Think about where you can locate this truck on your layout so that the front of the vehicle is facing away from the viewer! If the viewer can't see the front of the vehicle, then who cares whether the front represents a vehicle from the 1990's or the 1950's? The dump truck in the figure is a modern truck on my layout (which models the Long Island Rail Road circa 1964). The figure also shows how to make roads "disappear" against a flat wall (see item #8 below).
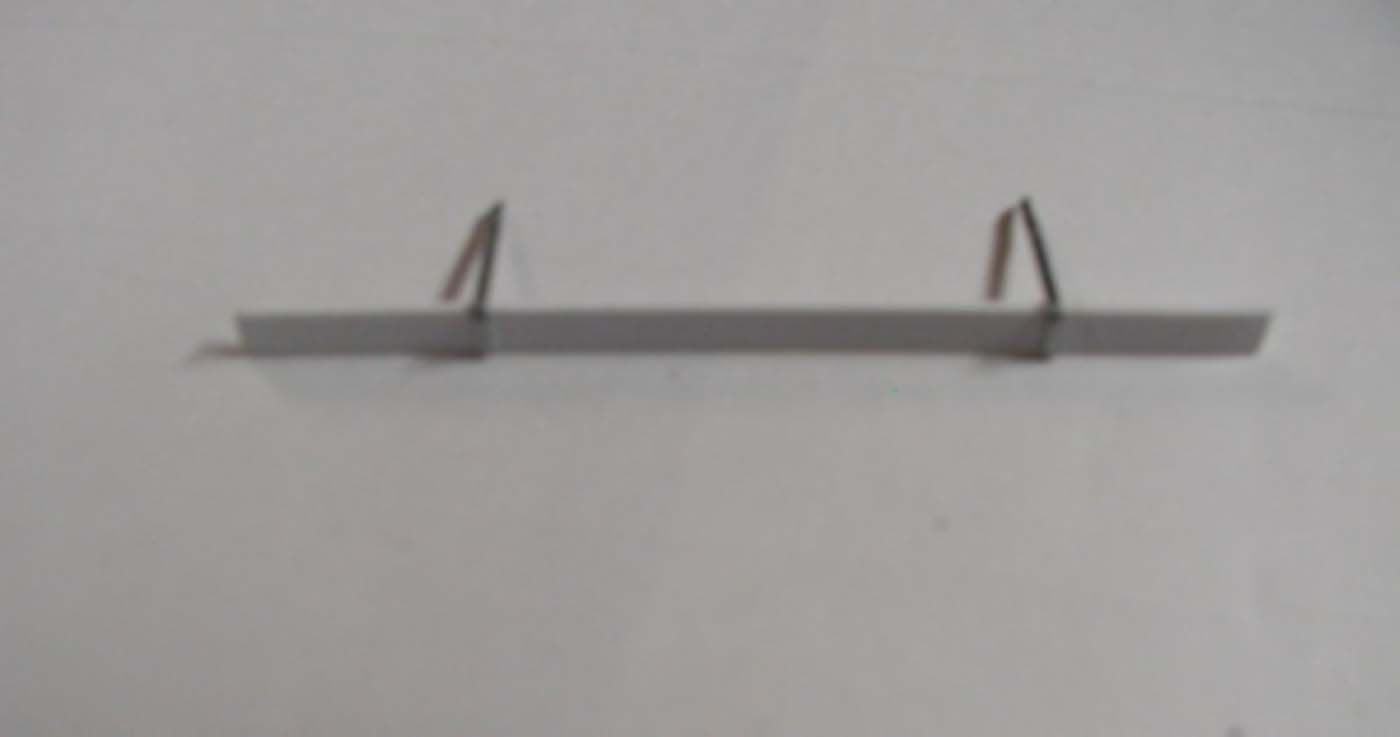
7.) Simple Third Rails and Cover Boards - Are you modeling or want to model trains that ran on power from third rails? Third rails and cover boards are relatively simple to model. You can make the third rail by hammering small flathead nails at the end of rail ties about every 6 inches. Drive the nails in so that they are at the same height as the top of the tie. Solder a smaller scale rail to the tops of the nail heads. For HO scale, I used code 70 rail. To make the cover boards that went over the top of the third rails, cut 0.040 x 0.156 styrene into pieces about three inches long. To make the supports that hold the cover boards in place above the third rail, Arrow 1/4 inch staples, which can be bought at most hardware stores, work great. Using a pair of small pliers and metal nippers, I straightened out one side of the staple, and nipped off the chiseled edge. I put a drop of styrene glue on the styrene cover board about 3/4 inch in from each end, and glued the modified staple to it (top figure below). When it dried, I sprayed the whole thing grimy black. Drill two holes next to the third rail and glue the cover board assembly in place (bottom figure).
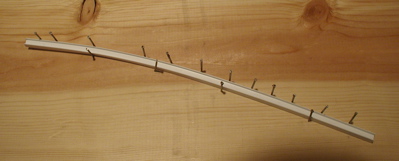
8.) Bending Styrene Plastic - Scratchbuilding models may occasionally call for bending styrene plastic strips into unique shapes, such as arcs or compound bends. An easy way to do this is as follows: trace on a piece of paper the shape or curve into which you want to bend a styrene strip. Place the piece of paper on a a piece of wood, preferably something soft into which you can easily drive a nail. You can either trace the curve onto the wood with carbon paper, or just make small indentations along the traced shape on the paper, so the indentation carries through to the wood. Tapping a small finishing nail does this fine. Remove the paper and then drive small finishing nails along the shape marked on the wood, about one inch apart. Lay the piece of plastic against the nails, drive another nail on the other side of the styrene strip to hold one end in place. If the curve is not too severe, you may be able to bend the styrene into the shape you want using the nails as a guide (see figure). Now, get a hair dryer and hold it near, but not too near, the plastic. Try to heat the strip uniformly. As the styrene strip heats up, it will relax in to the shape into which you have bent it. Be careful not to heat it too much or it could melt and distort. You can test when it has taken the correct shape, because it will no longer be sprung against the nails, and should lift out easily from the mold.
9.) Making Roads Disappear - Having roads that run into the walls of your layout room can pose a visual challenge. Having them end abruptly doesn't look good, and trying to paint an extension onto the wall may not look realistic. One way to have the road blend into the distance is to bend the end of the roadway material up and curve it to a point to one side. You can now put foliage on either side of the road, and it will give the effect of the road curving off in to the distance.
10.) Simple commercial outdoor lights - Here is a way to make quick, easy, and inexpensive outdoor industrial lights for your layout suitable to use in yards, parking lots, station areas, or anywhere such lights are used. You can make dozens of these in an evening at a cost of less than about $2.50 per light.
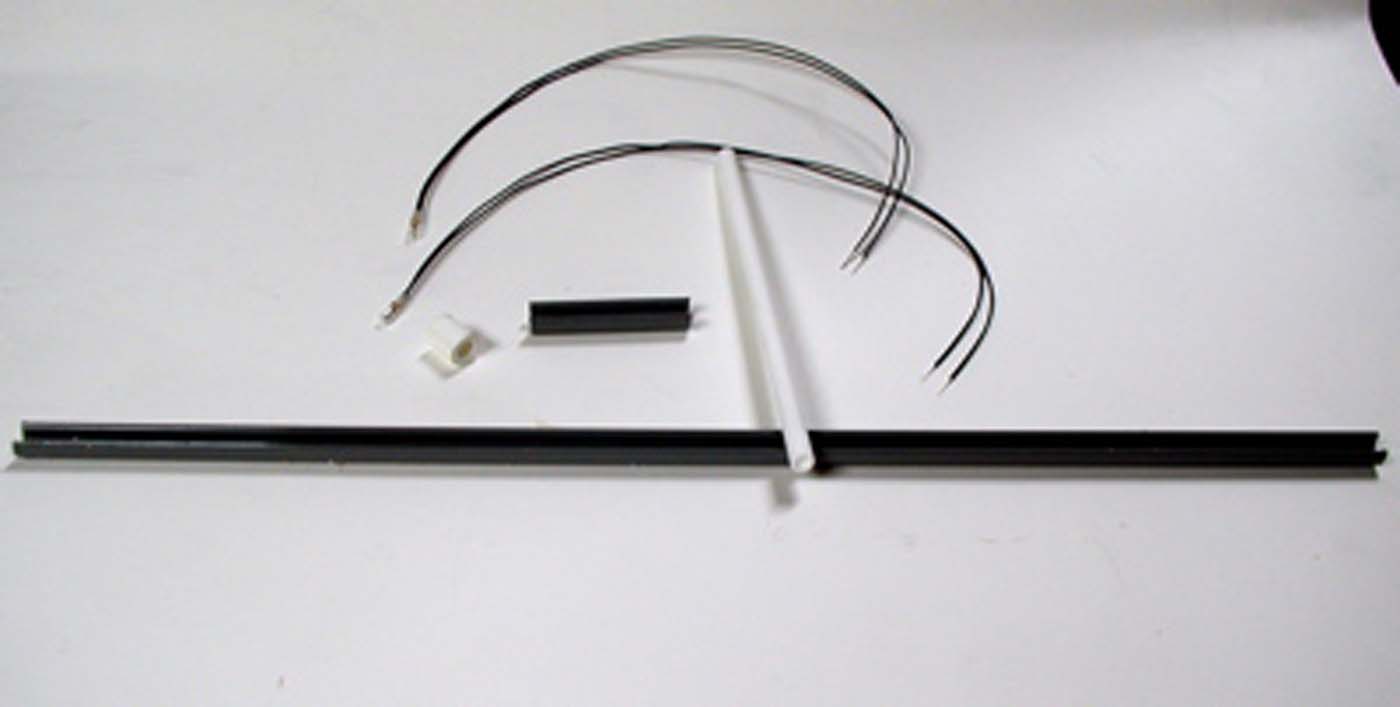
The key components are Plastruct #90172 1/4 inch half round styrene plastic strips, Evergreen Scale Models item #225 5/32 inch styrene tubes, and Miniatronics Corp. 2.4mm diameter 12 volt incandescent lamps. I also used a larger styrene tube that just slipped over the 5/32 inch tube cut to about 3/8 inch to simulate the concrete base for the pole. However, this piece is optional.
The strip of Plastruct 1/4 half round plastic was cut into pieces 1 and 1/8 inch long. The Evergreen styrene tubes were cut into 6 inch lengths, although these can be cut to any length to suit the particular application.
A double bevel was made one one end of each of the 5/32 inch tubes by holding the tube at an approximate 45 degree angle and rubbing one side, then the other on a piece of sandpaper. This is necessary so the tube will fit snugly inside of the half-round yet leave room to run the lamp wires down through the center of the tube.
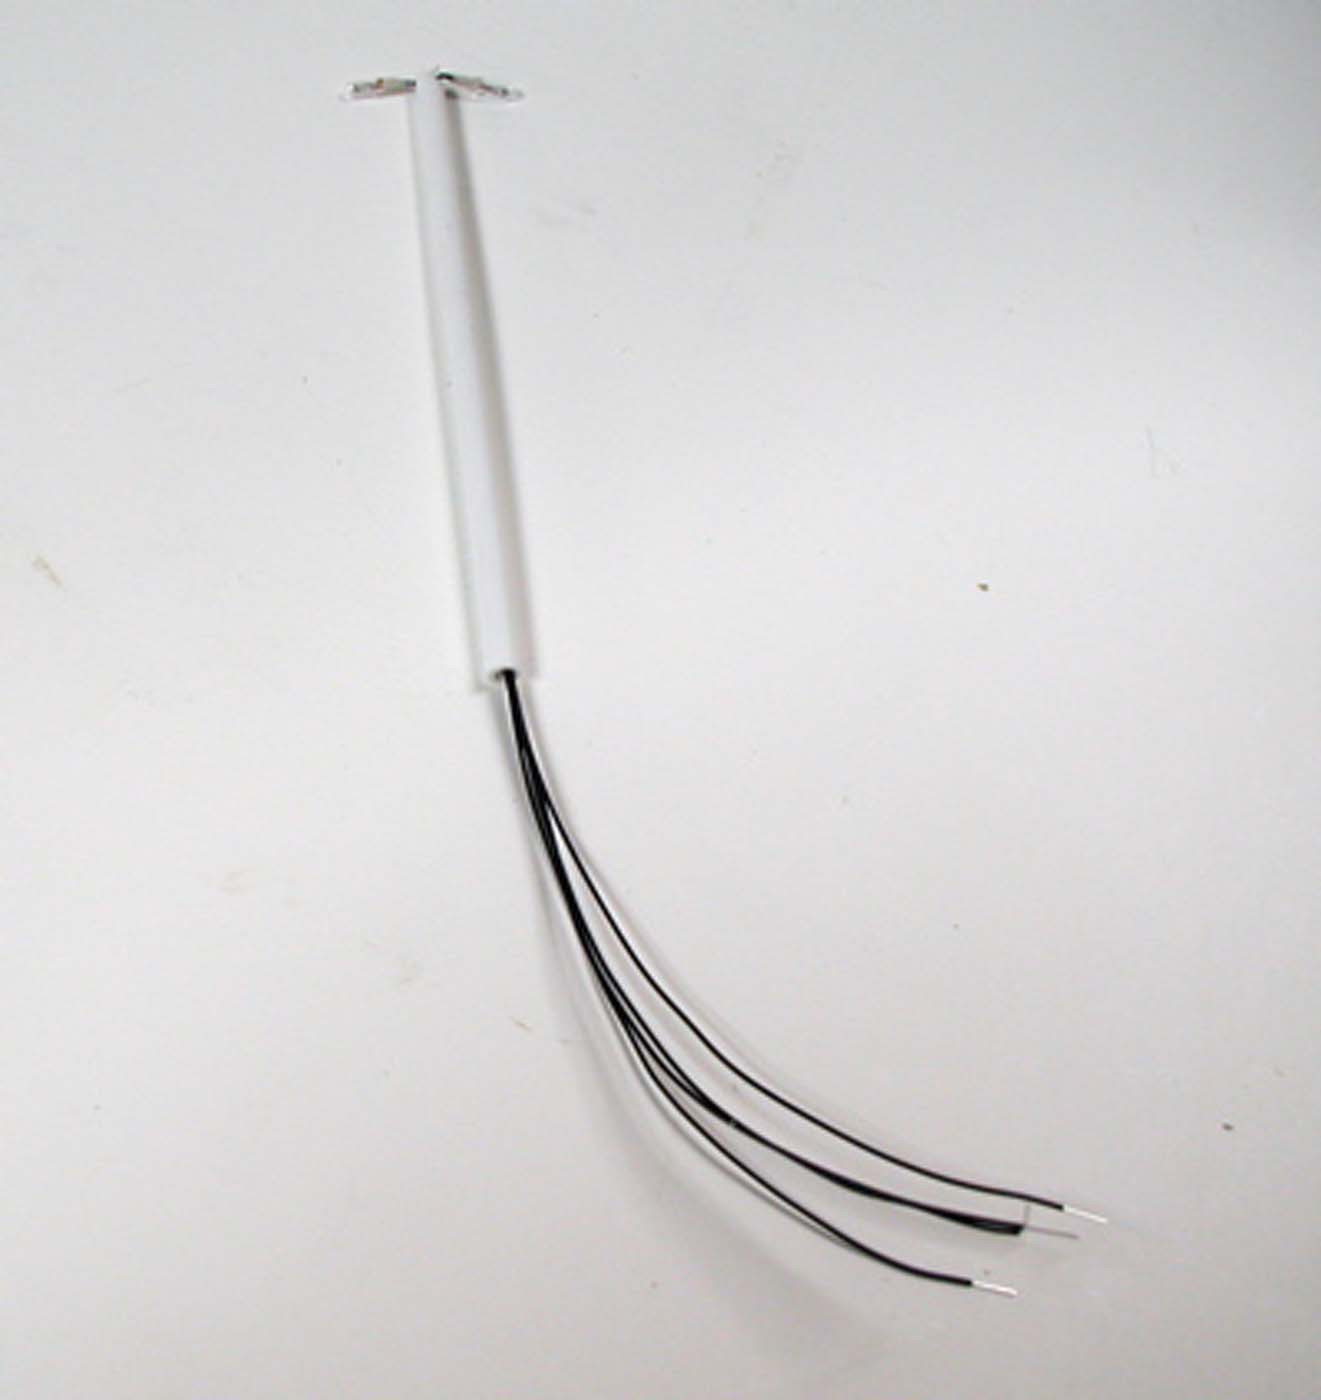
Next, insert the wires from two lamps into the end of the tube with the bevel, and pull the wires through so only the lamps are sticking out of the top of the tube. Carefully bend the bulbs so that they stick out perpendicular to the tube, and are parallel to the bevel edge.
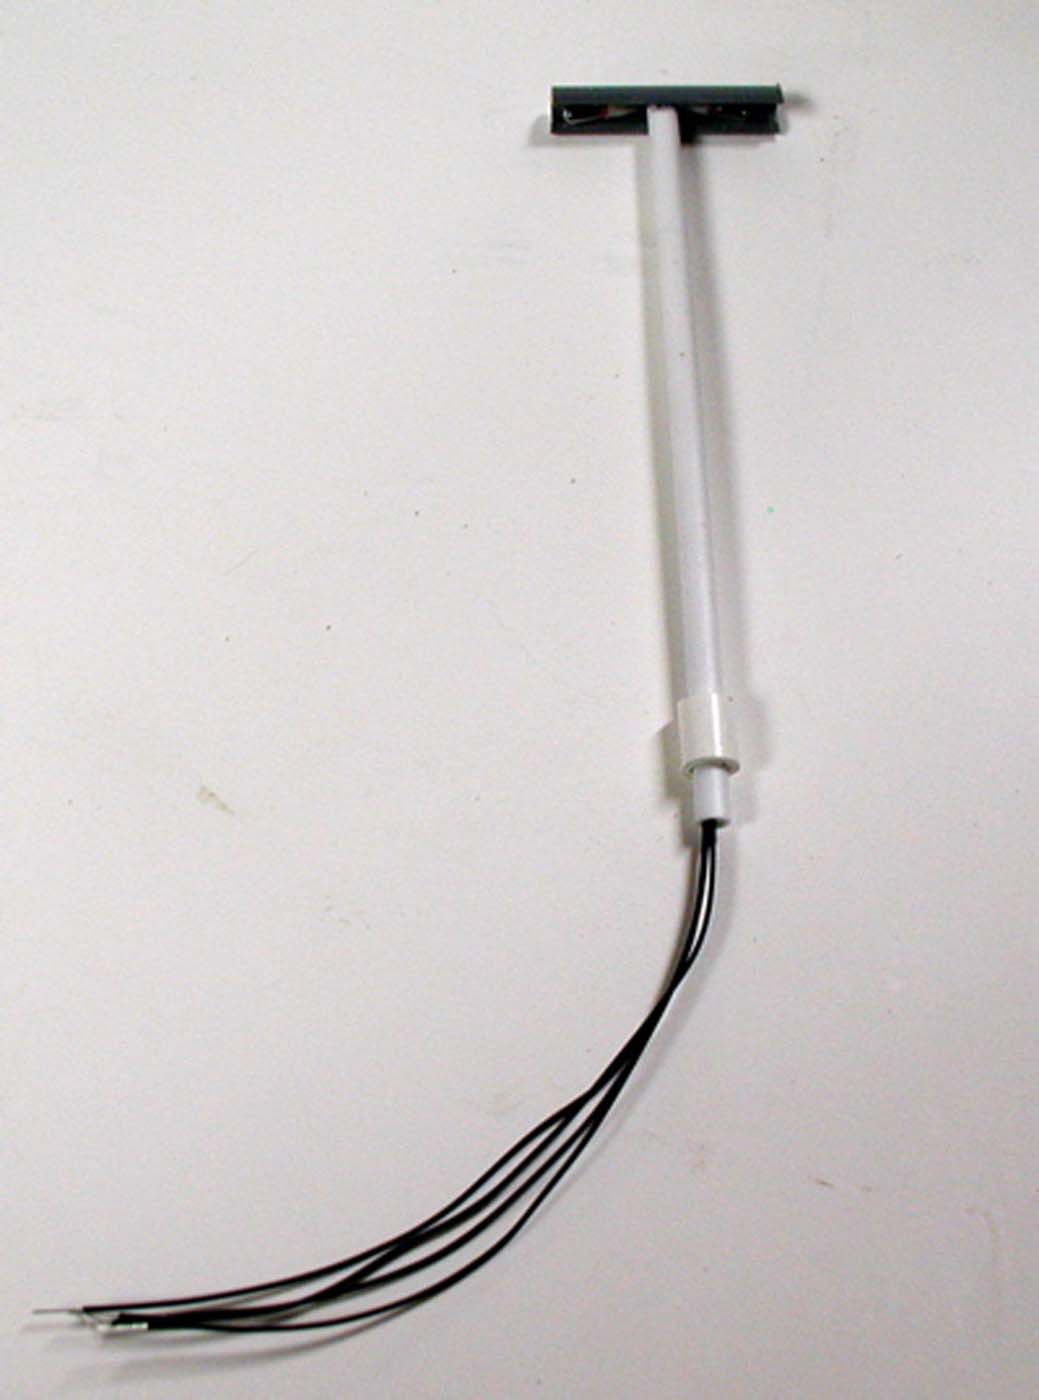
Apply plastic cement to the center inside part of the 1 and 1/8 inch half round, and glue it onto the top of the tube so that the two lamps fit snugly up in the half round recess. Set this aside until the glue has dried. After the glue has dried, you can glue a collar piece over the bottom that simulates a concrete base. It will also make installation easier since it will help hold the pole in place.
I painted my lights a light gray. When installed on the layout (see item #2 below, they help light up night time scenes, and add realism.
If you liked this tutorial you should check out the variety of tutorials located on the Potomac NMRA Clinics page.