.png)
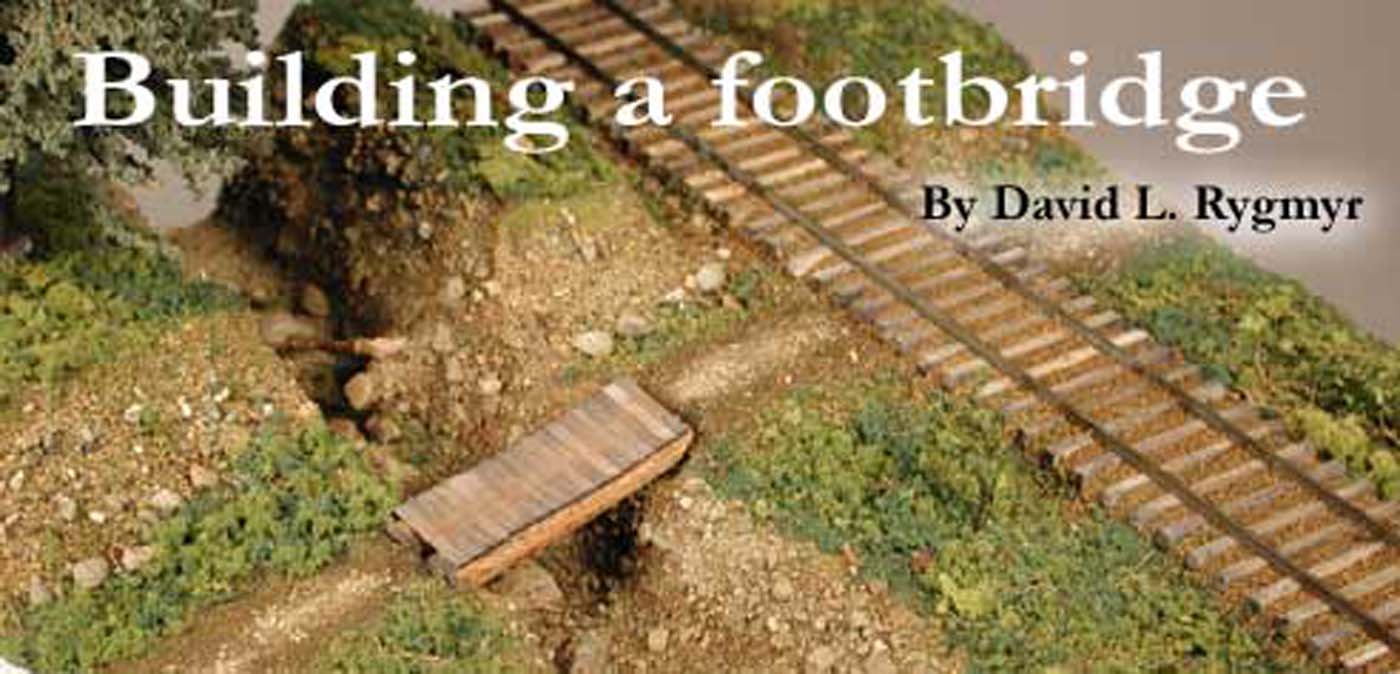
by David L. Rygmyr
All photos by author
This article was originally published in TTSL issue #64.
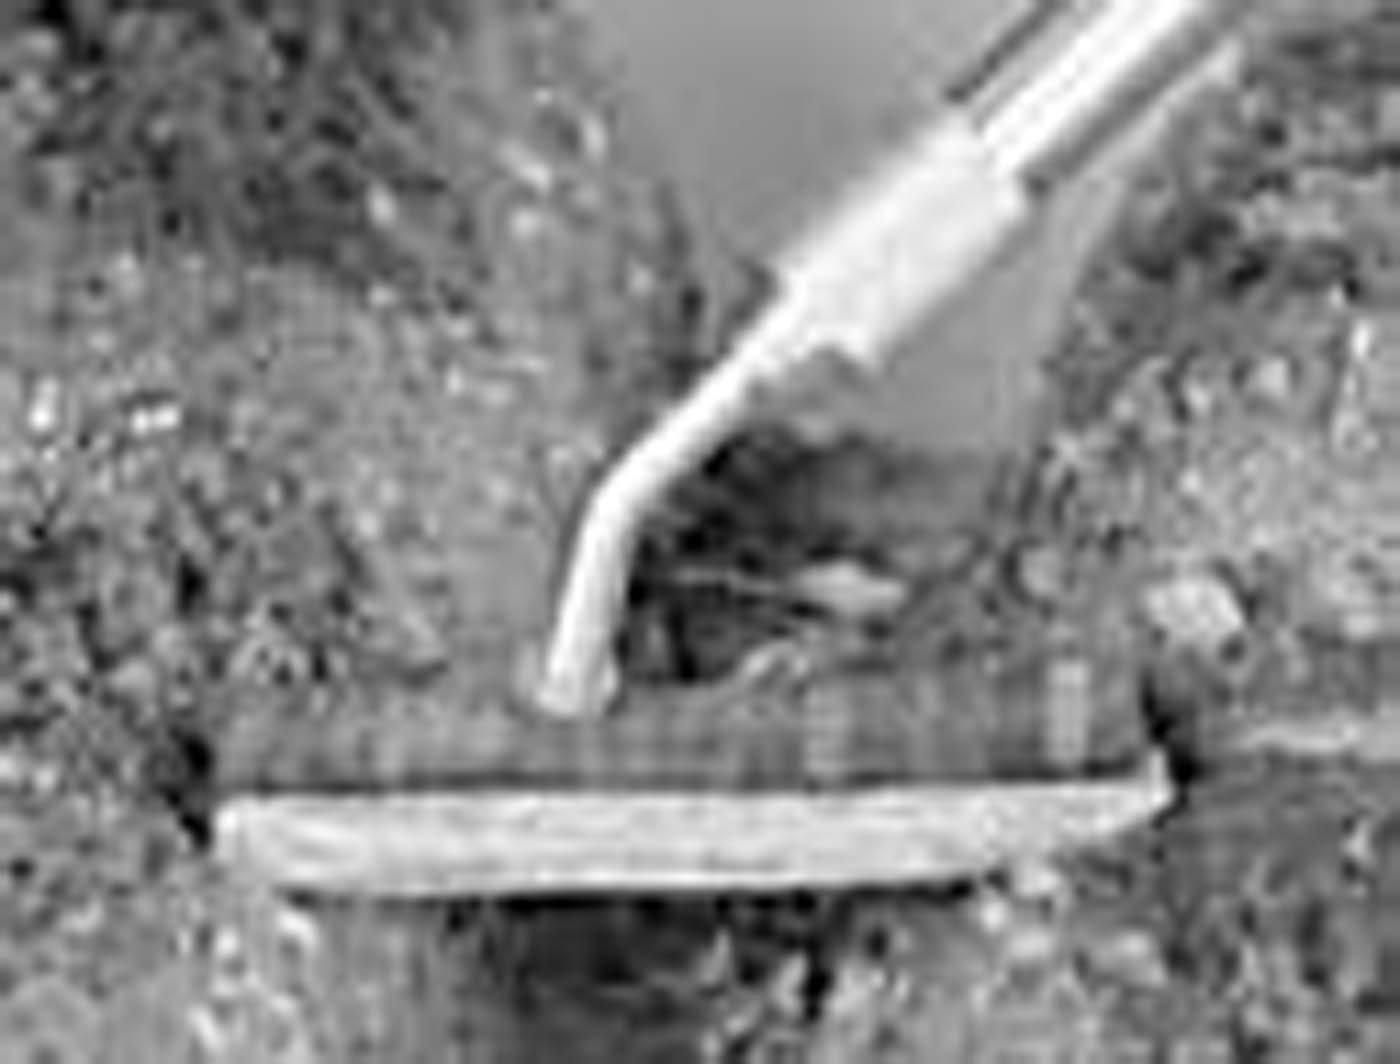
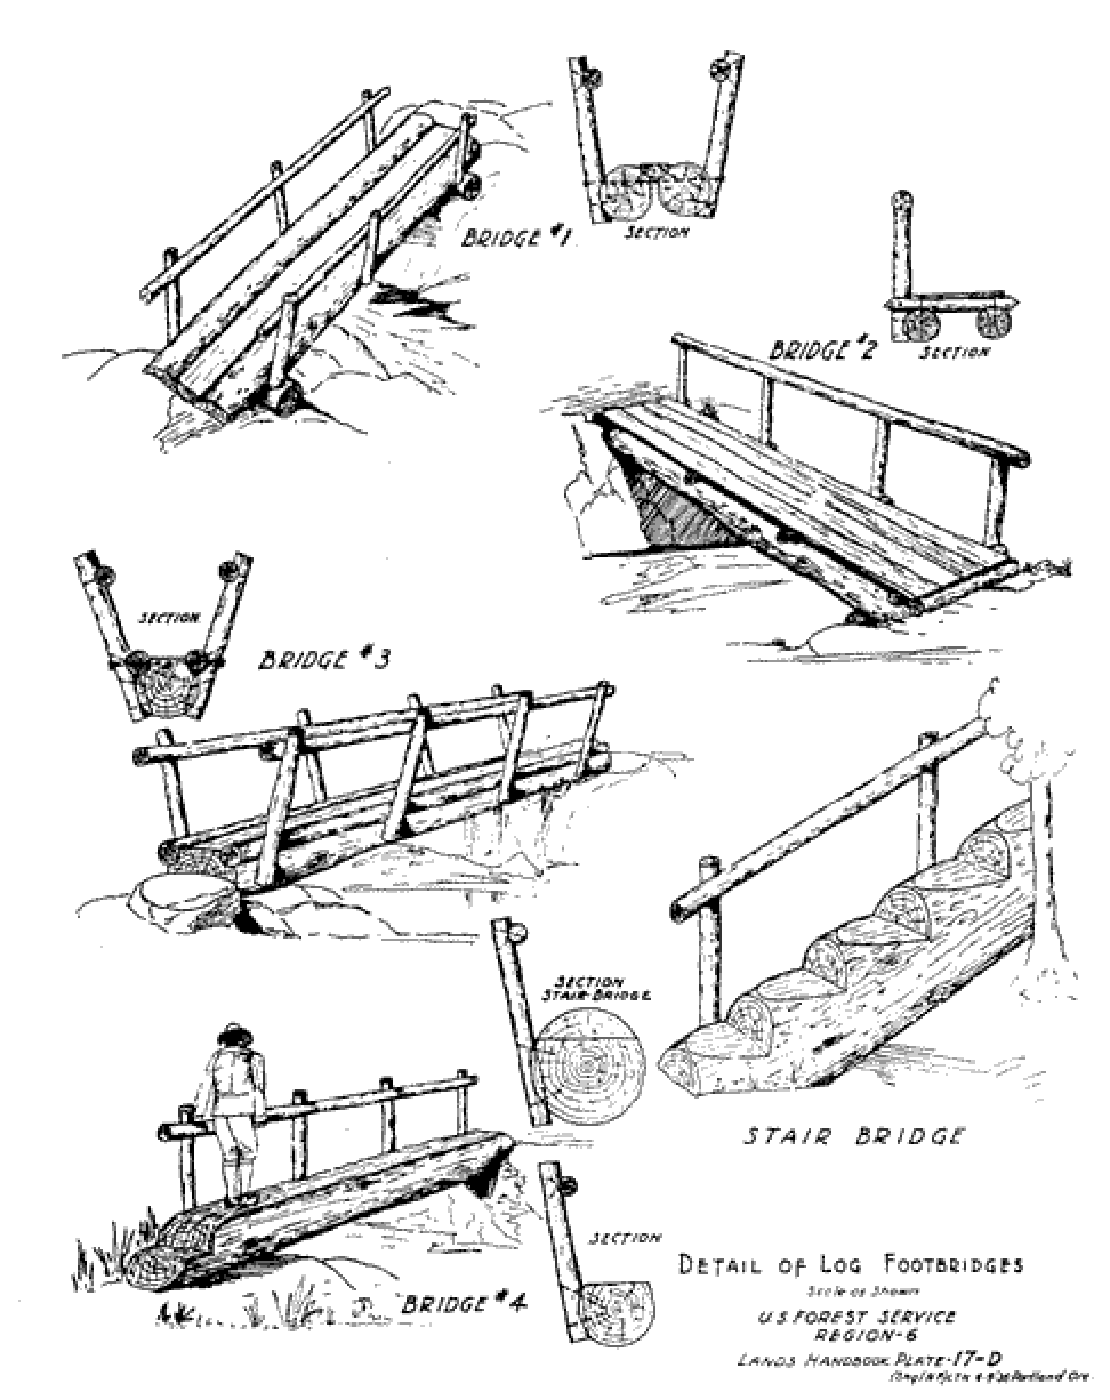
The inspiration for this project came from the drawing below These footbridges are from a 1935 United States Forest Service plan book, and they were of interest to me for two reasons. First, it's not often you find plans like this. Second, these plans were developed for the Civilian Conservation Corps, one of Roosevelt's "New Deal" programs that offered work to young men left jobless by the Great Depression. The CCC, also called the CC or "the CC boys," performed lasting and worthwhile projects, some of which are still with us today. The Forest Service road that leads to our house, for example, is an old CC road.
This project is more than just a footbridge because I didn't have a setting in which to create one. So, I created a diorama from scratch, with a goal of modeling a creek typical of many found in this area. Much of the soil here is what's referred to as "glacial till" which, as I understand it, is a kind of river gravel left behind by the glaciers as they cut through this area. In addition to good soil we have huge pockets of gravel here, as my posthole digger and I can definitely attest to. Some creeks, such as the one modeled here, display this type of soil in that the sides of the creek are peppered with round rocks.
Step one was to create a base. I used layers of construction foam; sculpted with a knife to form the contours I wanted. When I was satisfied with the contour, I applied a layer of plaster gauze to form a working base. (I've found it difficult to work directly on foam; I much prefer plaster.) Next, I used a Sharpie to rough in the location of the trail, and then glued on a strip of card stock where I wanted the railroad grade to be.
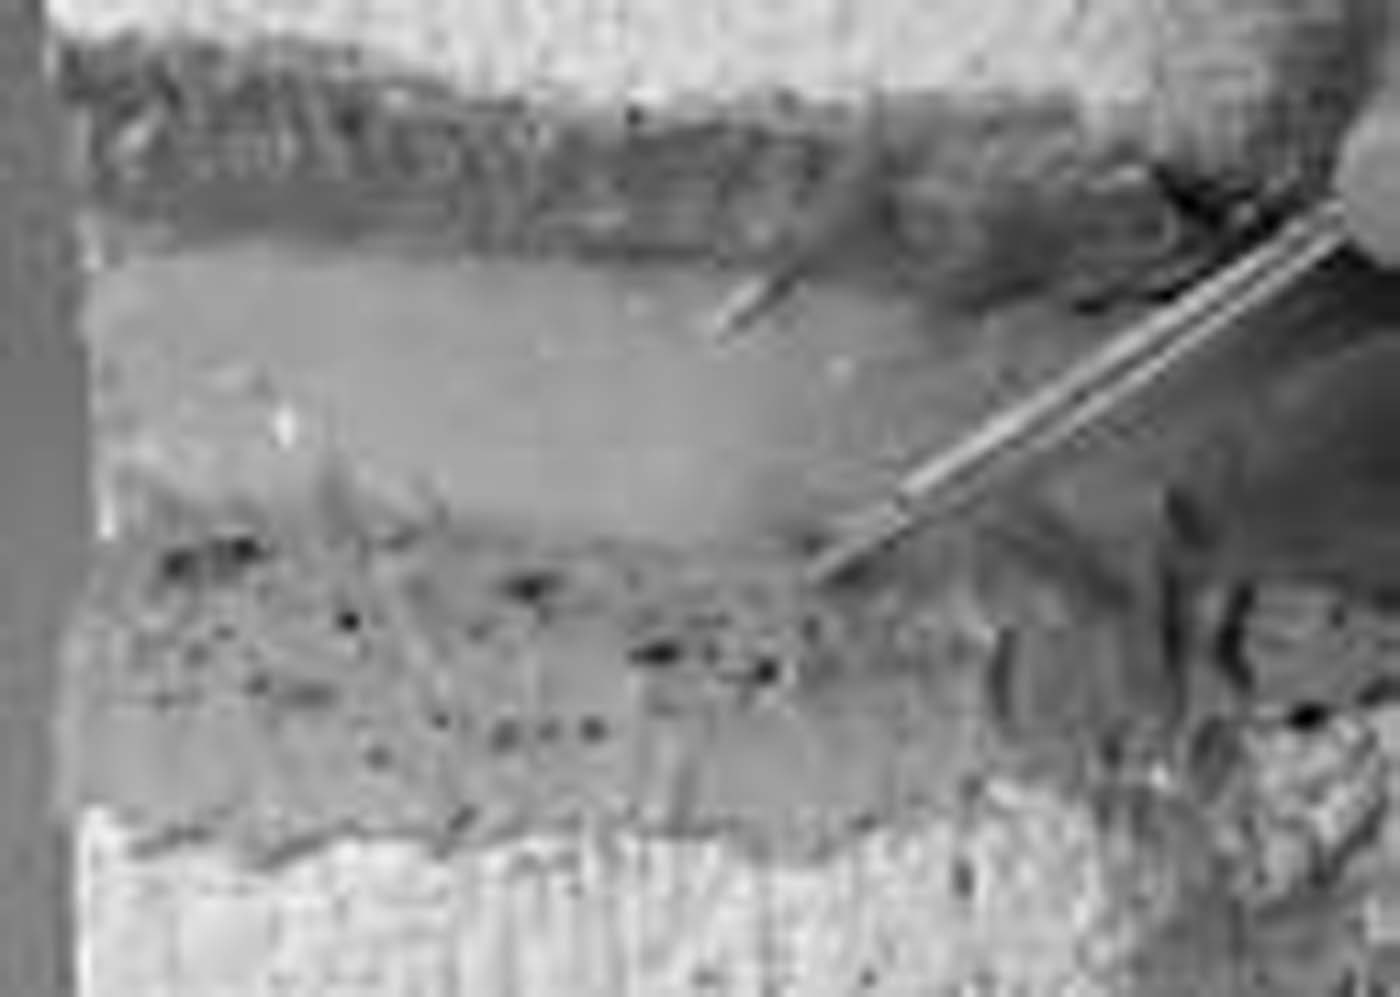
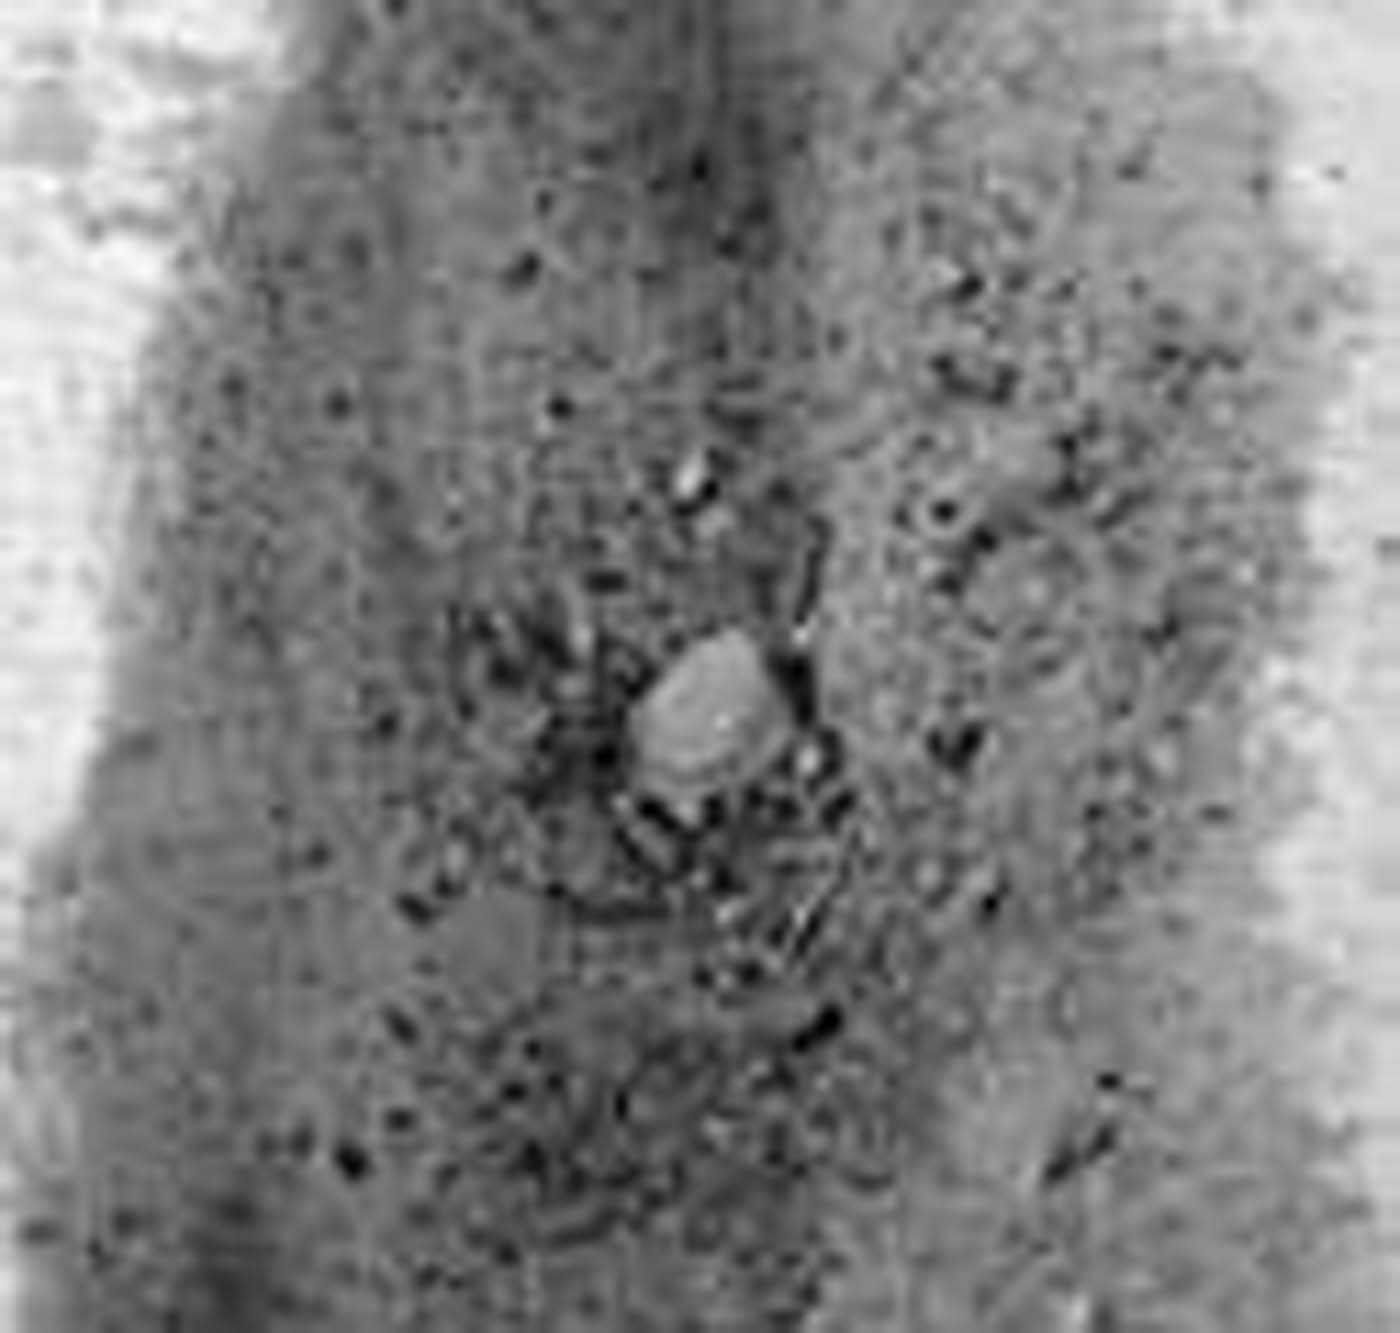
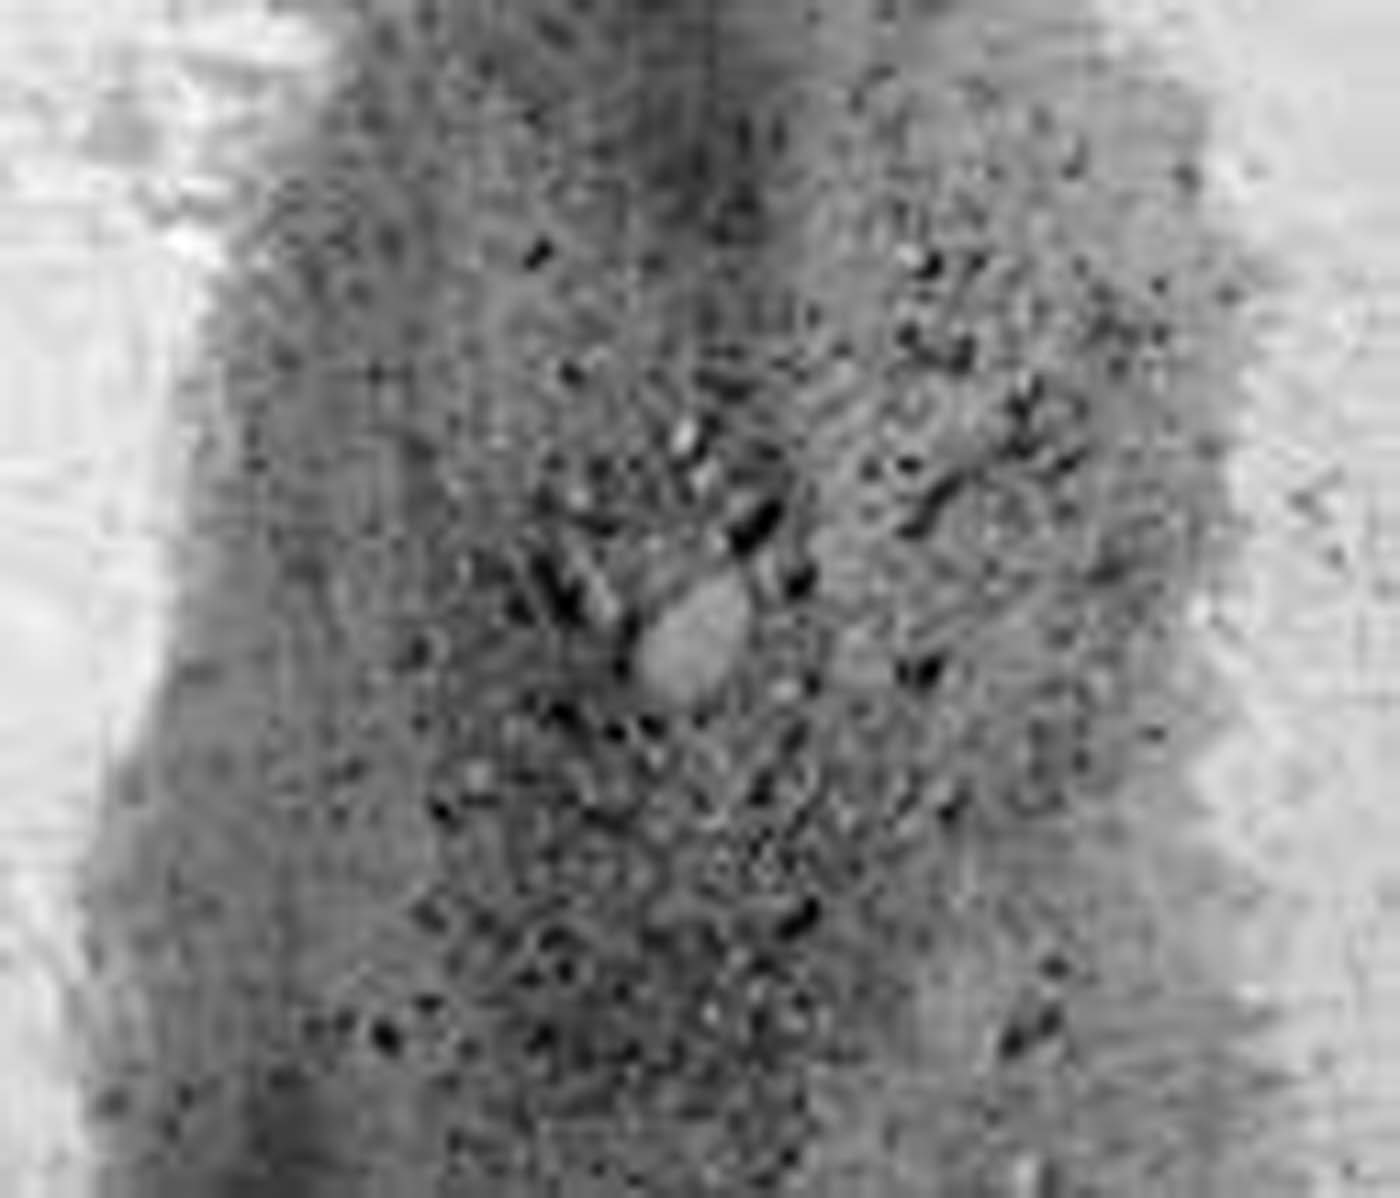
After allowing everything to dry, I went to work on the creek bed and sides. To build up the base for these, and to give me a sticky surface to apply the rocks and scenery material, I mixed up a batch of Durham's Water Putty. To make life a little easier later, I used a mixture of brown tempera paint instead of just straight water to mix up with the putty. I went for a consistency of thick toothpaste, which I found thin enough to work with yet thick enough to hold its form. I applied this mixture with disposable glue brush, making sure to lay down a good base coat along the entire trench-including the sides. The putty dries fairly fast, and it's not worth fighting with putty that starts to dry. So if you try this method yourself, be prepared to mix up several batches if you need to cover a large area.
Because I'd pre-colored the putty, I was able to put river sand and rock directly on the wet putty. I used my fingers for sand and small rocks, and tweezers for larger rocks. Otherwise I would have had to worry about painting the base later, working around the rocks. No thanks! The sand came from a bag of construction sand purchased at a hardware store. Using strainers I picked up at a dollar store, I separated the rocks into piles of different sizes to help me get a balanced look. And, I always have a little HO figure on hand to make sure I don't get carried away with size. I made sure there were plenty of rocks on the bottom of the creek because Mother Nature erodes plenty of these things from the banks over time. After finishing the creek itself, I did the surrounding banks because they'd basically have the same look as the creek banks. Finally, I used the same putty to create the trail I'd marked out earlier, and to build up the base of the roadbed.
Next came a base coat of green water-based paints over the remaining plaster surfaces. Following this I installed hand-laid track using Kappler sugar pine ties, the ballasted the track in place. I then touched up the banks where I'd created a cut for the track in the foam base. I completed the base by adding scenery; using a combination of Woodland Scenics products as well as local materials I've been collecting. I also touched up the trail, striving to let the scenery define a clean boundary around the edges.
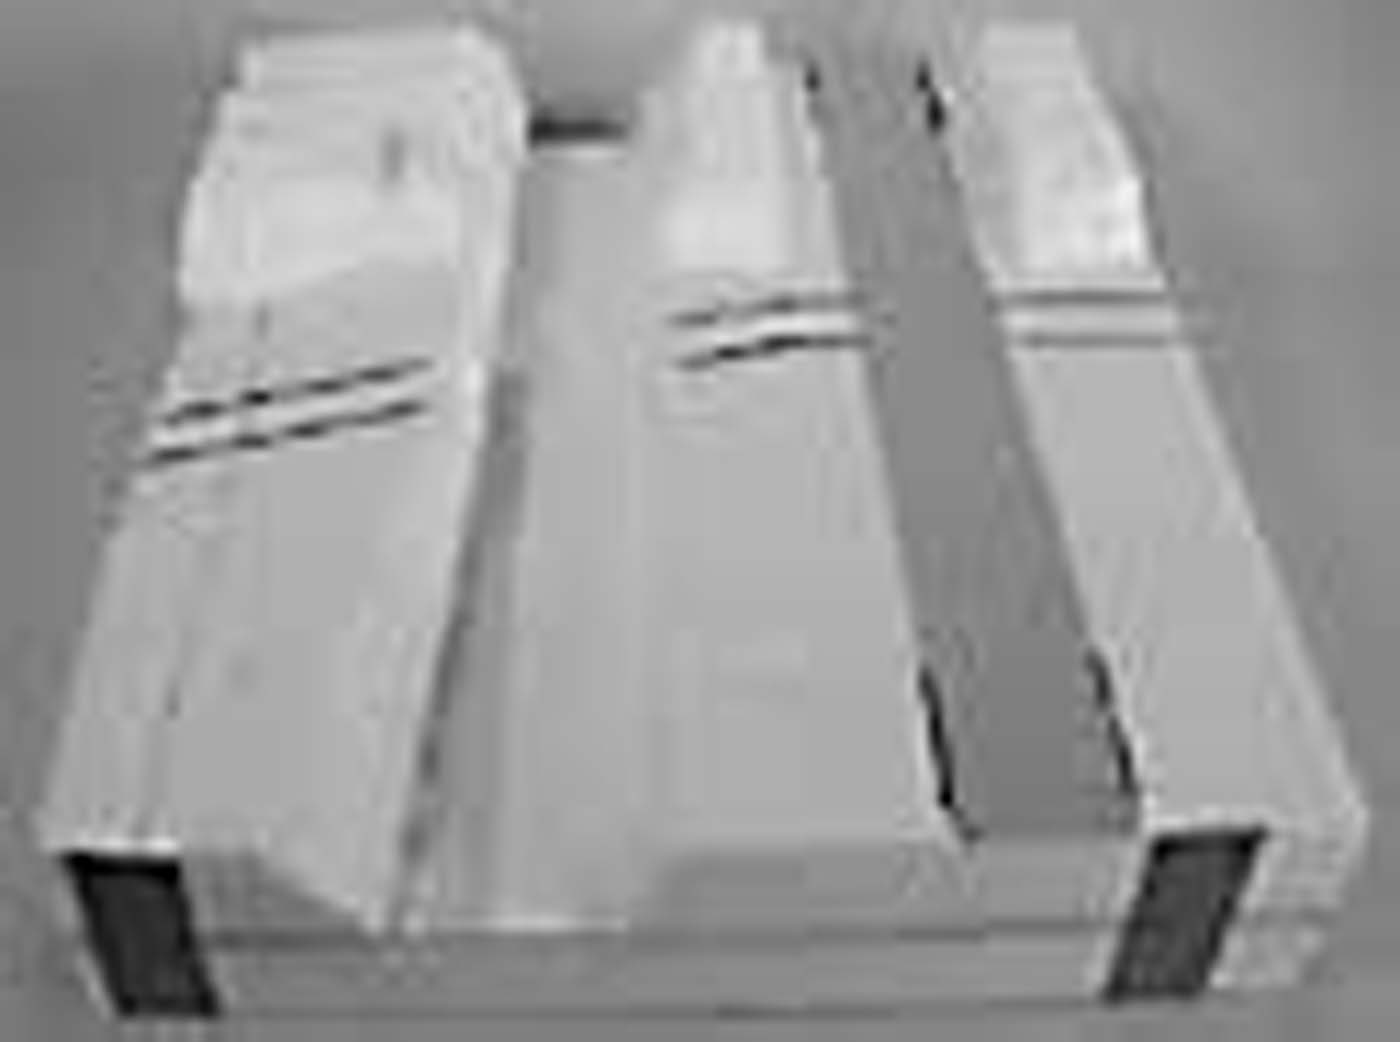
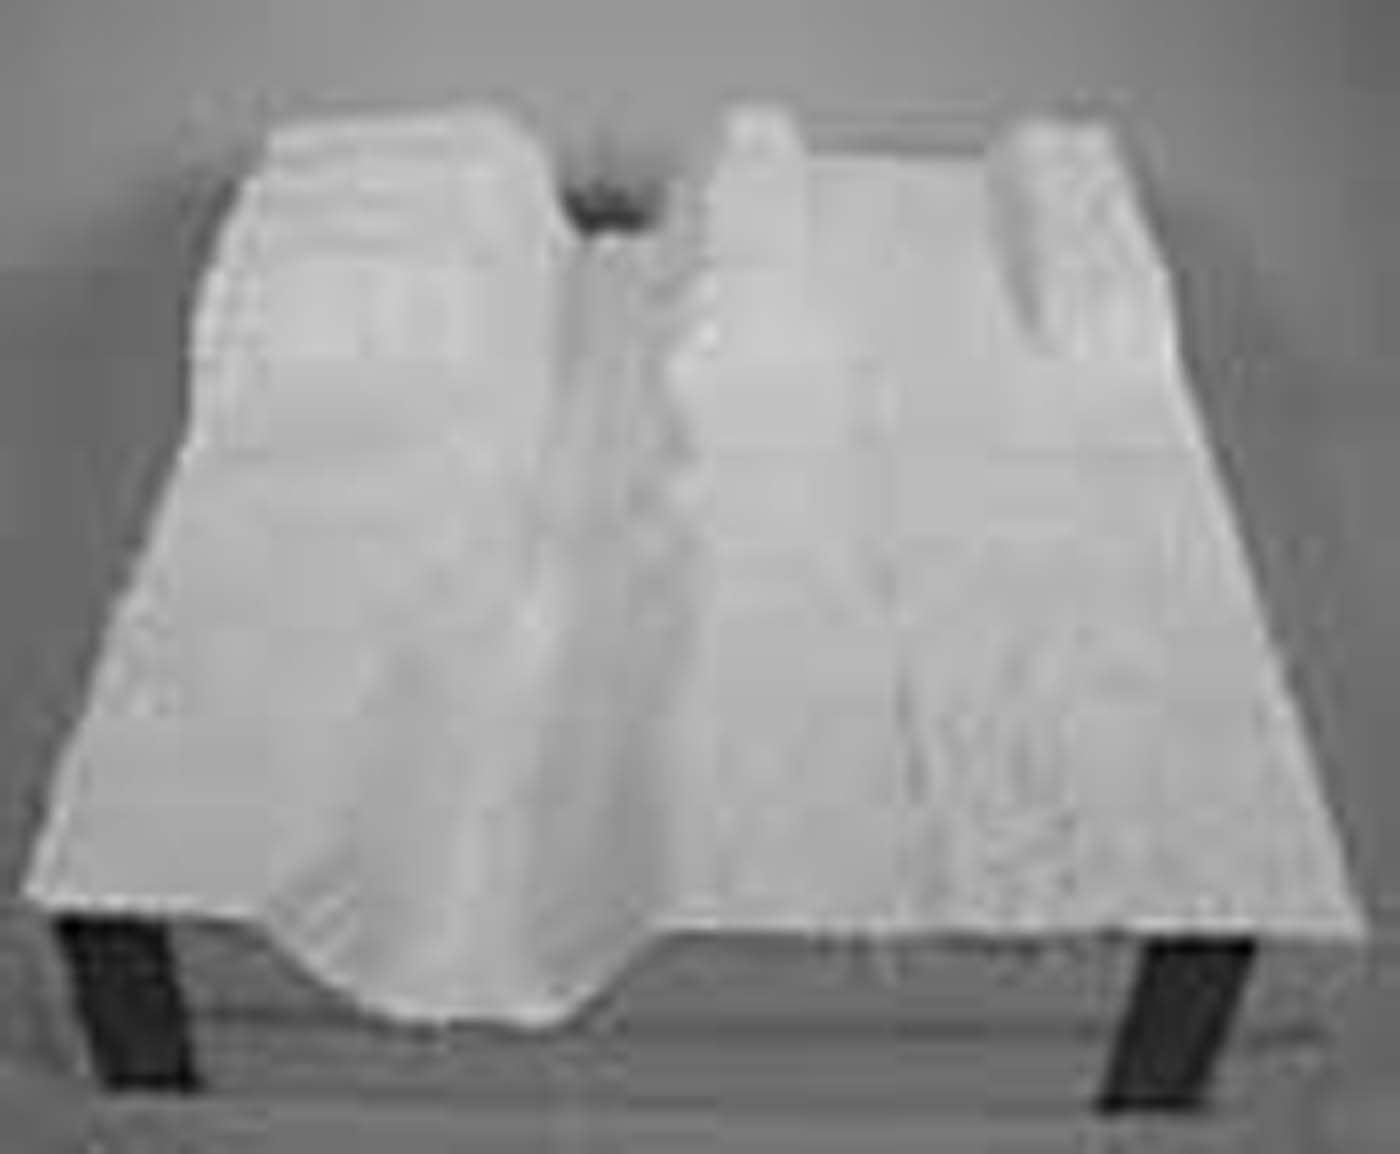
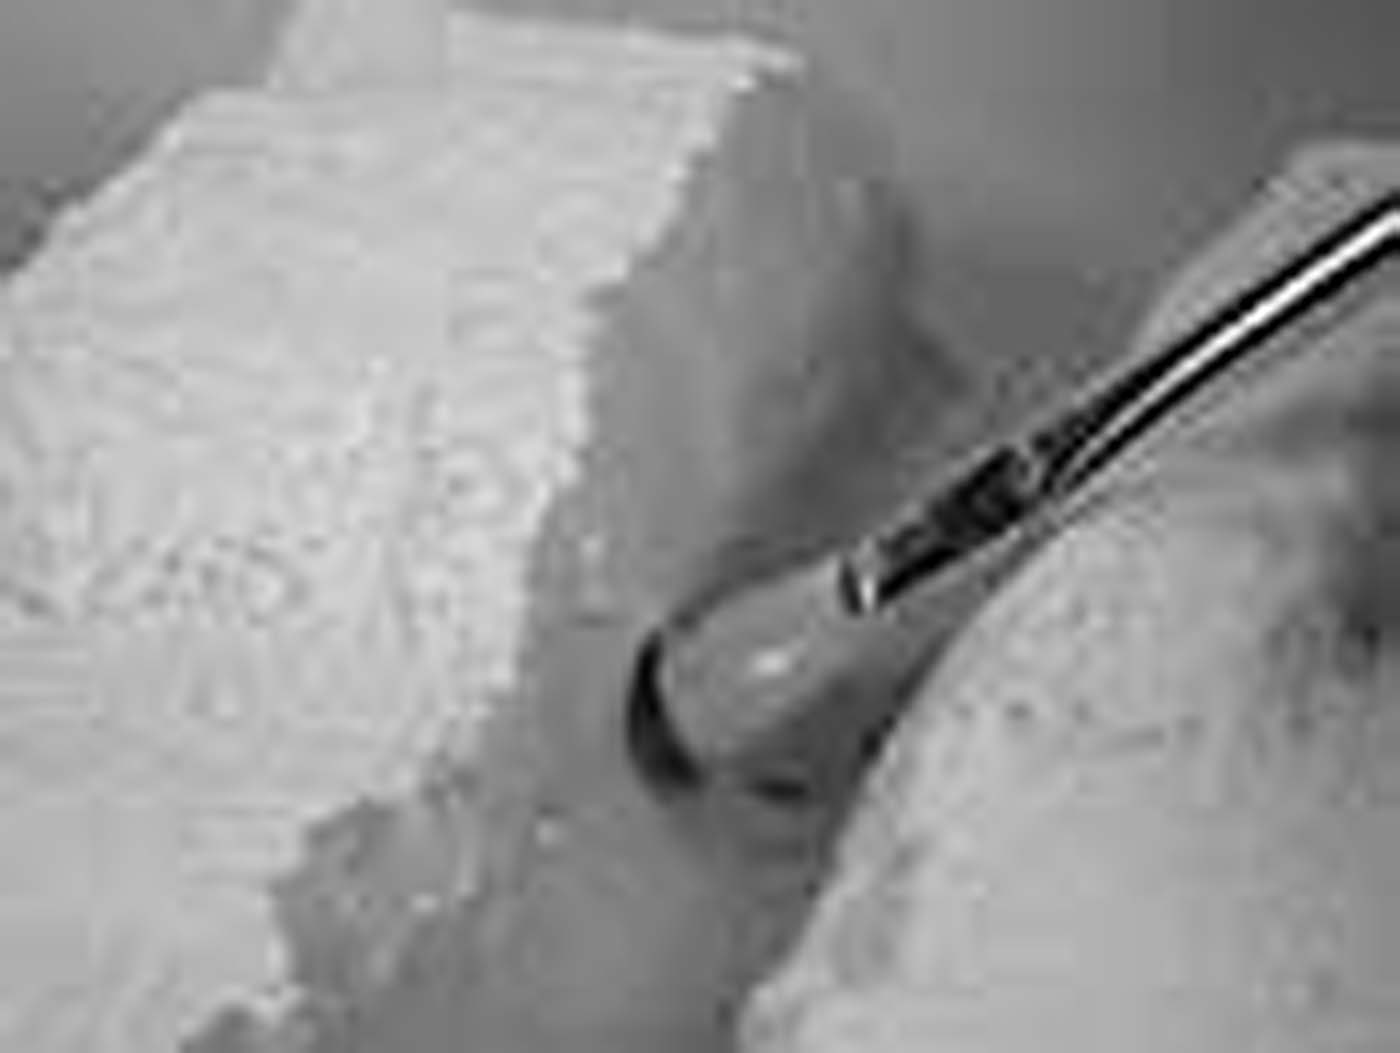
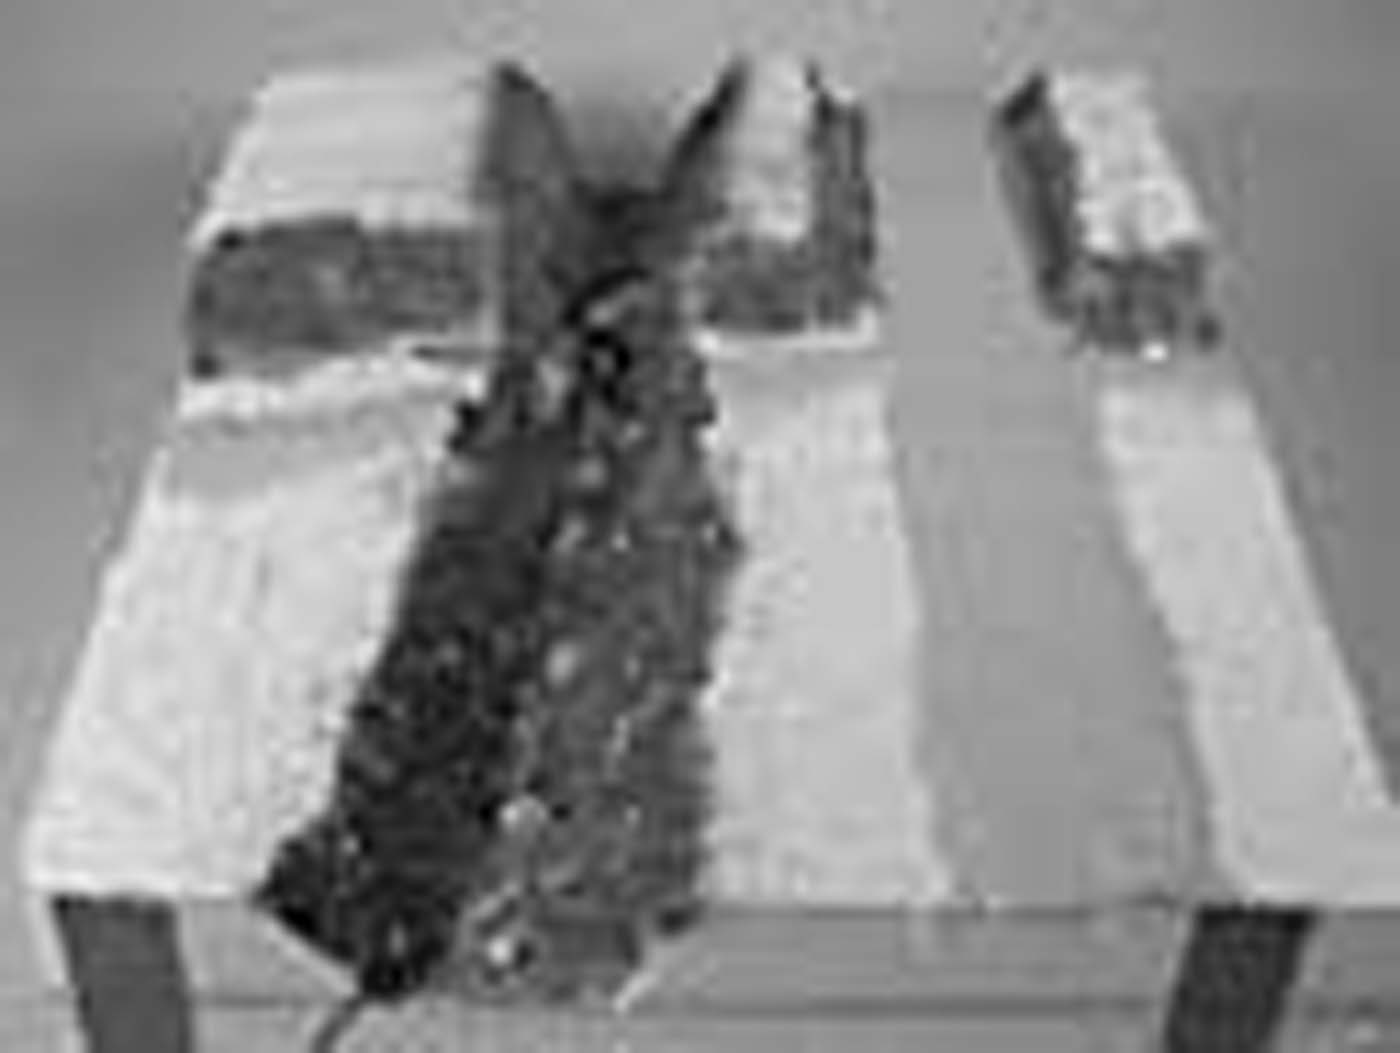
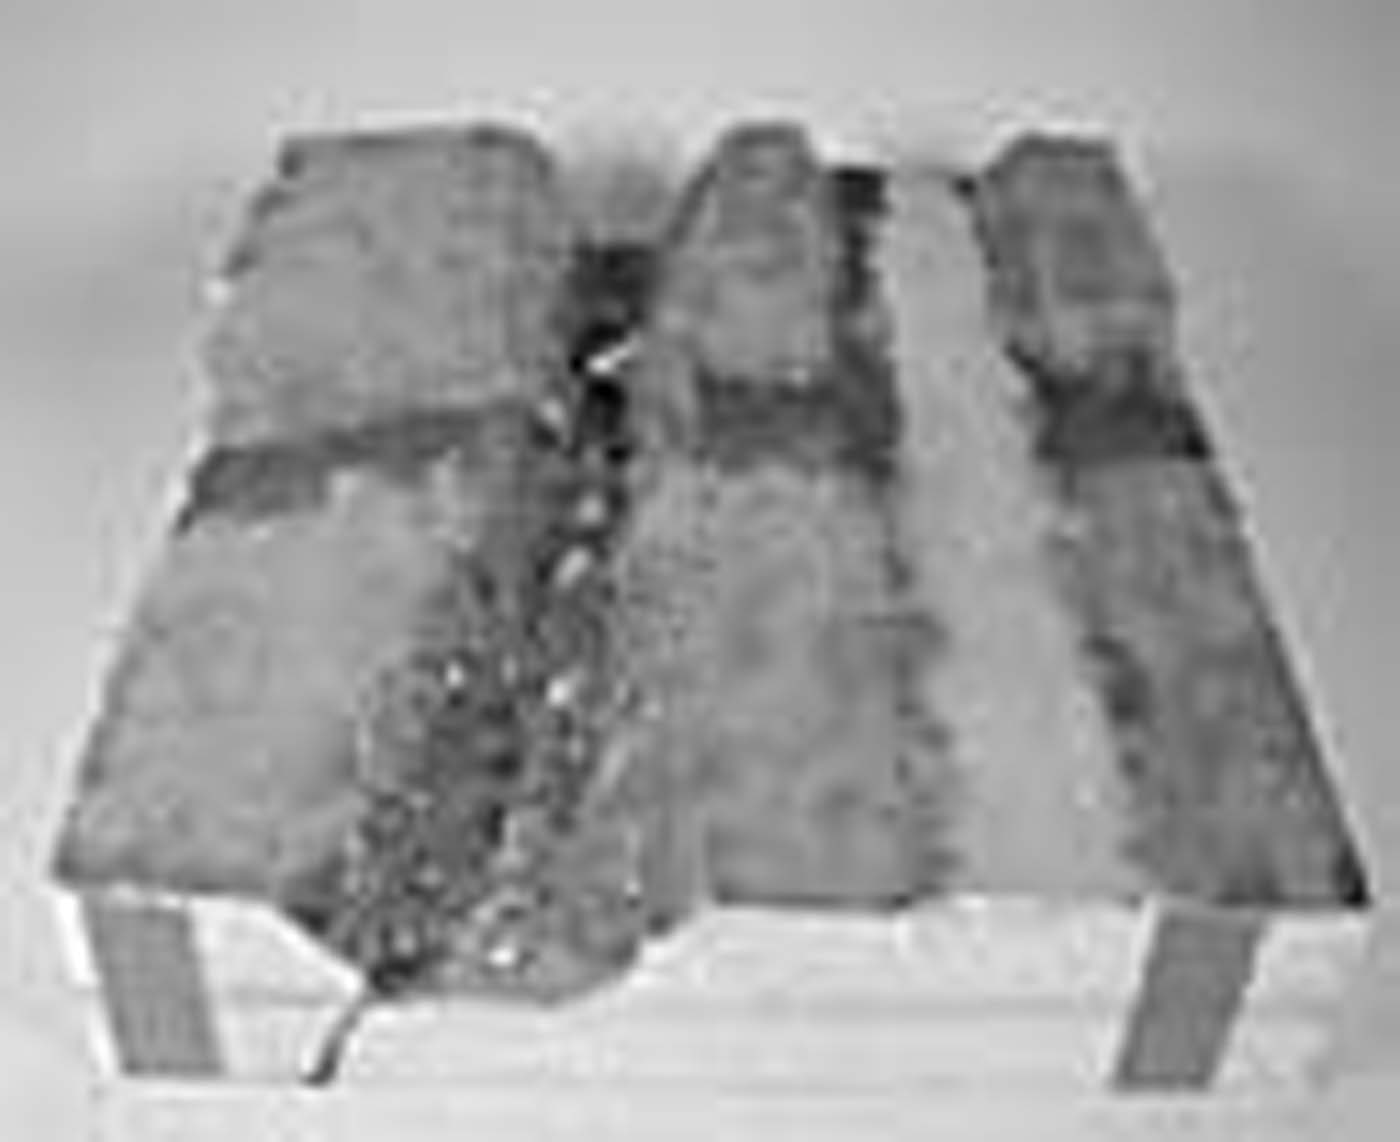
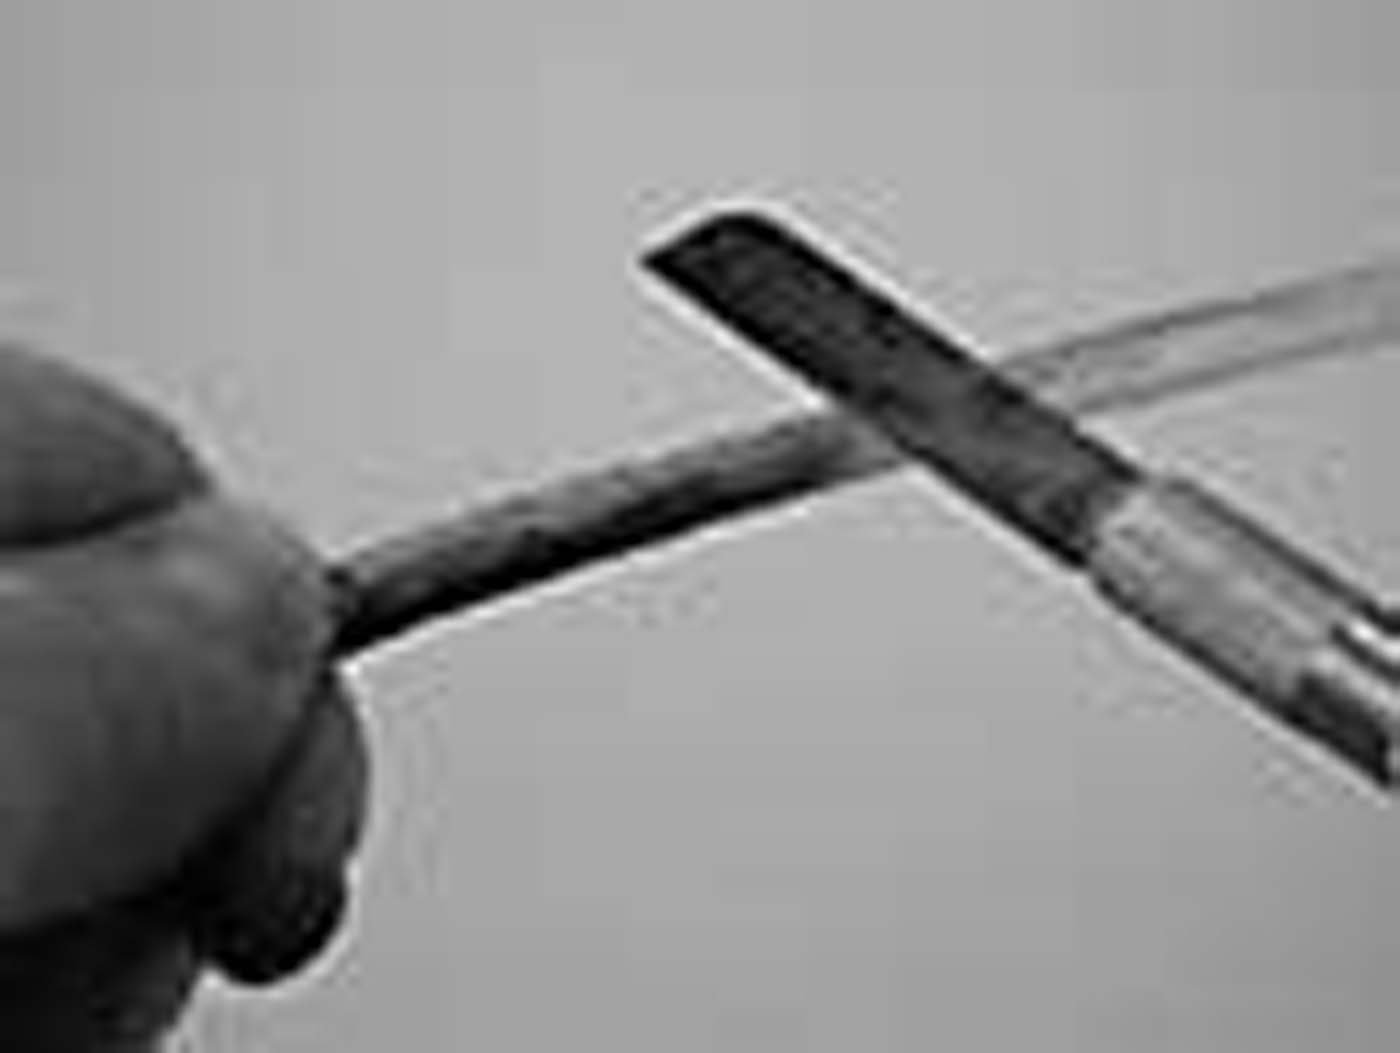
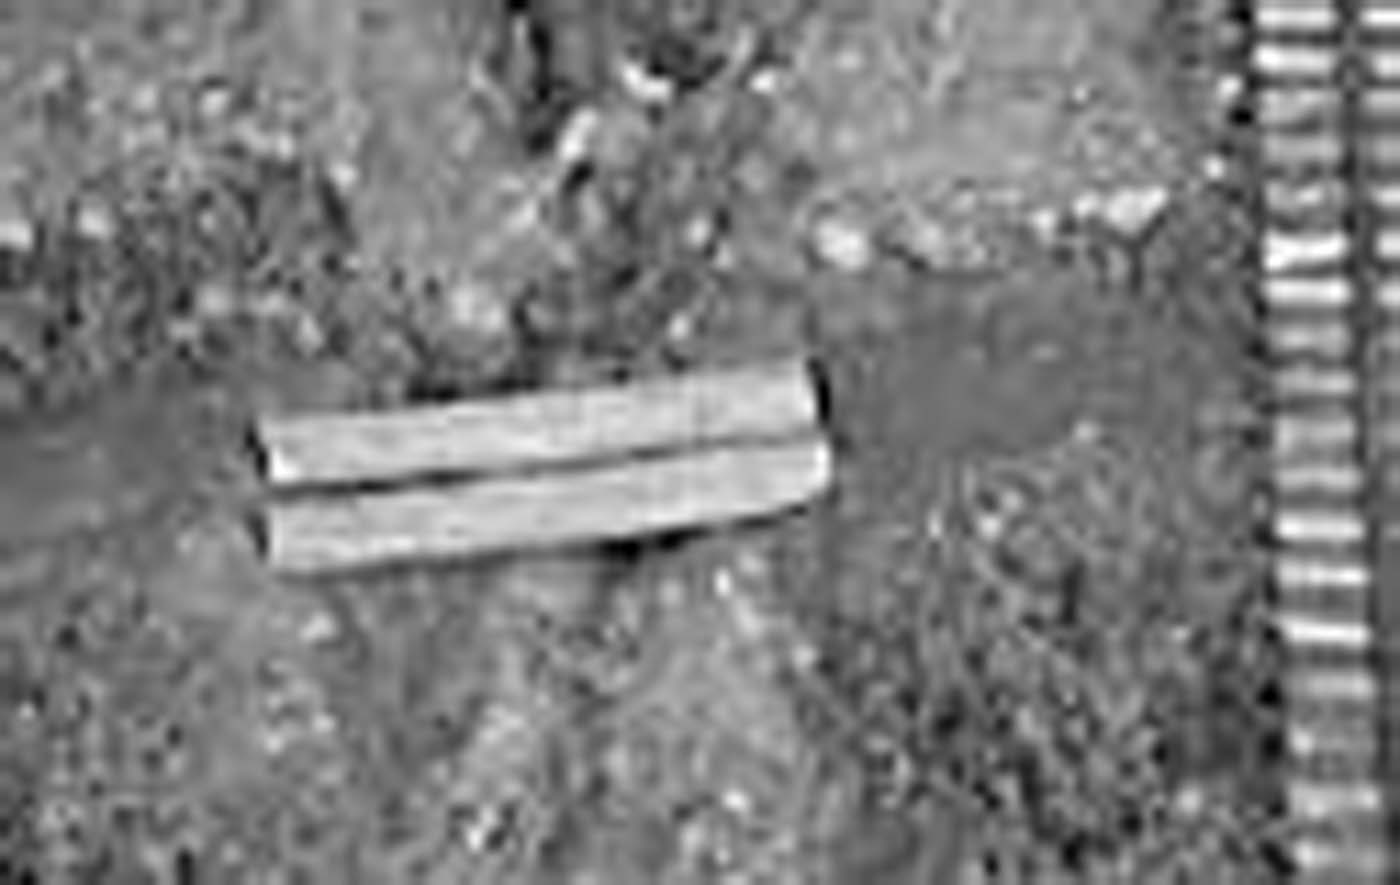
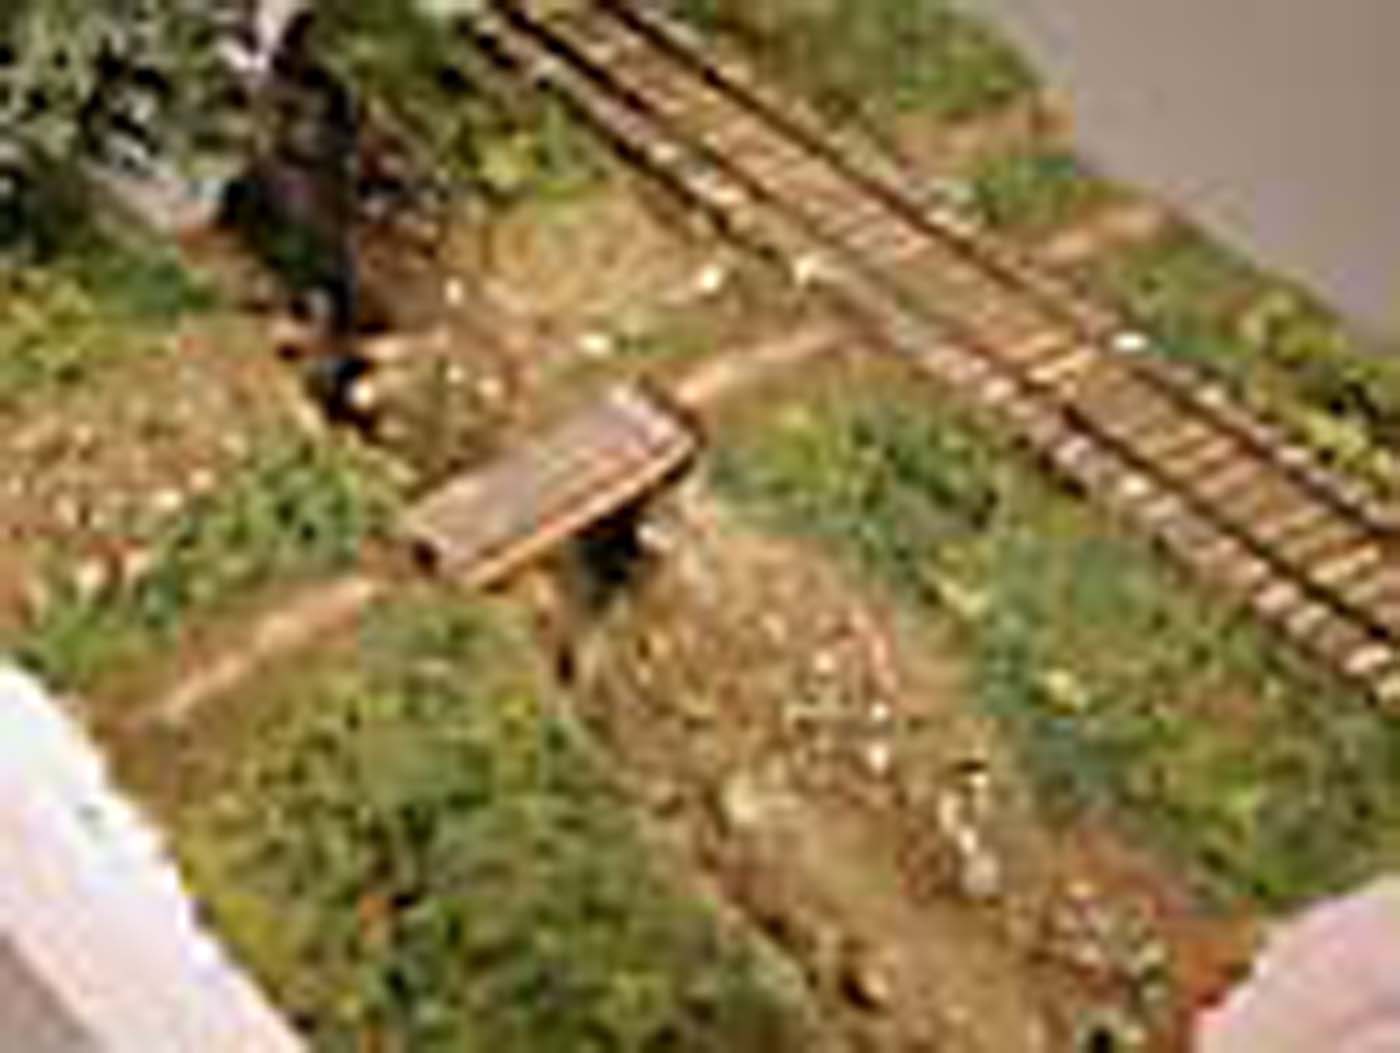
Finally comes the bridge. When I'd formed the foam, prior to the plaster gauze, I made sure to notch the top of the creek banks to lower the span logs, just like you'd dig down a bit in real life to create notches to both hold the log ends and lower the bridge height so that it's closer to the trail. I then prepared a log; made from a Rhododendron stem, by gently scraping the bark with a knife to get what I thought was a realistic look. I then measured and cut two pieces for use as the span logs, and then I used my pocket knife to chamfer the ends-very much like sled logs-so that they'd snug down into the notches on the base. When I was satisfied with the fit I glued them in place.
The last step was the bridge planking. Here I deviated from the CCC plans big time because I felt those specific bridges look better in a state park than in a logging camp. I used Kappler 2x10s and decided to lay the boards parallel with the creek (versus at a 90 degree angle from the logs.) I set up my Northwest Short Line Chopper and cut enough material, then used a pin to create nail holes on either end. I then weathered each board; the weathering solution settled into the nail holes for a nice look. Finally, I glued each board in place, eyeballing each board to make sure it evenly spanned the two logs.
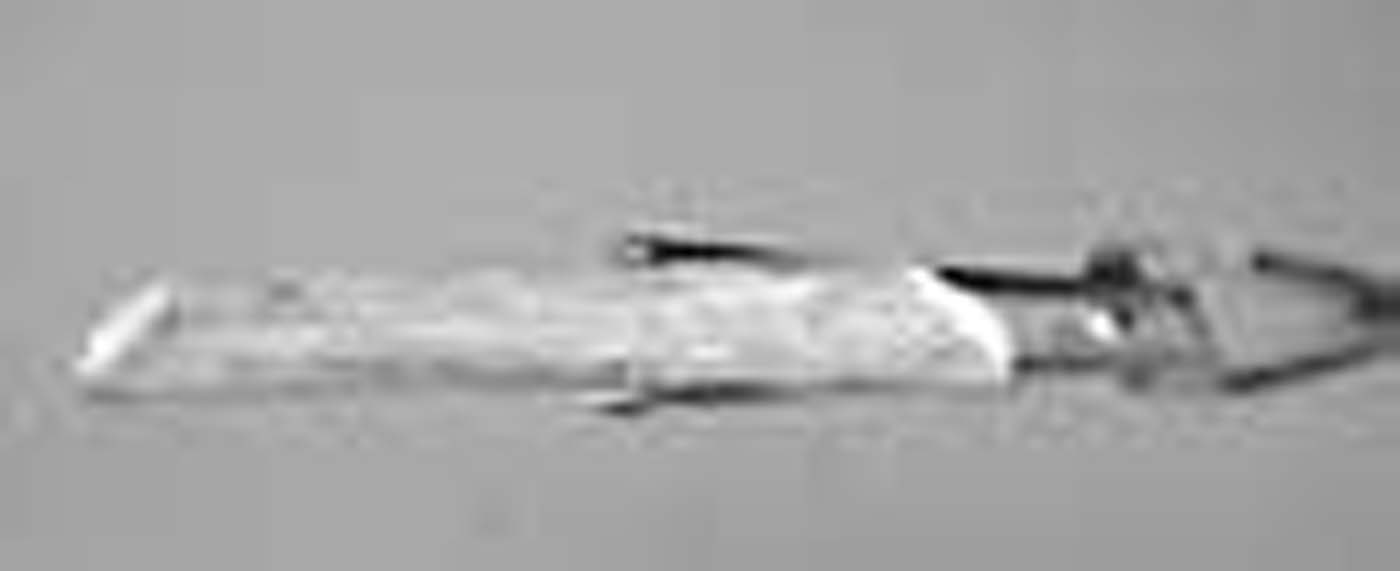
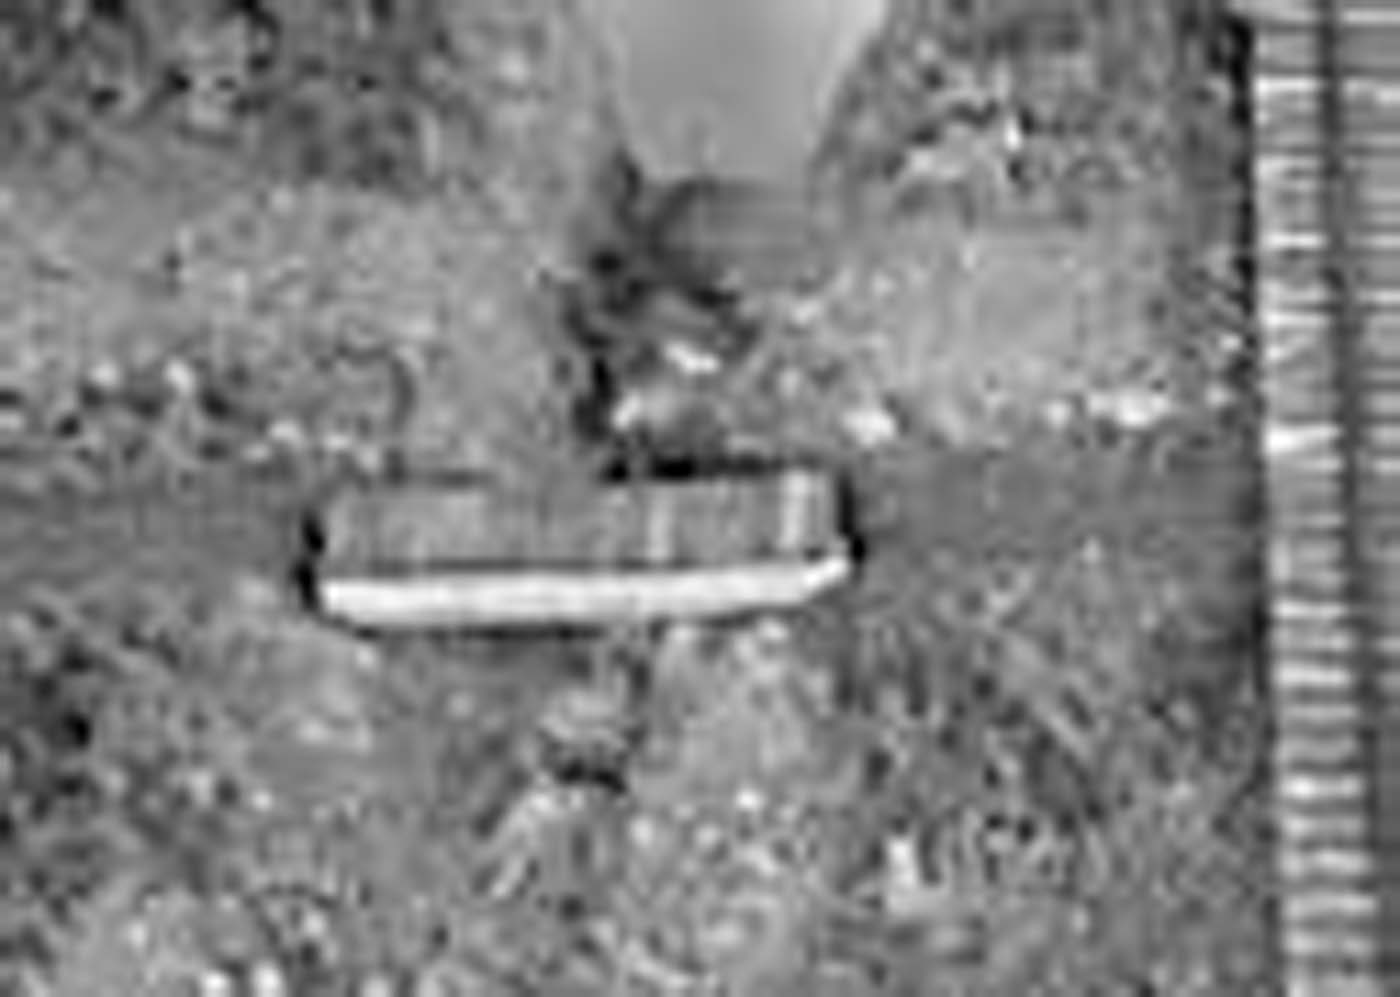
A bridge like this is going to get some serious wear from caulked boots, so I brought out my ponce wheel and distressed the center of the bridge. I followed this distressing with a very light dusting of brown and black weathering chalks, worked into the wood with a brush. All said and done, I went back and touched up the trail itself to make sure it matched the bridge ends. No, I didn't add handrails either, assuming that if a logger can't walk across a flat bridge in caulked boots without falling in then he's probably in the wrong profession.
I modeled this particular creek bed dry for the simple reason that I ran out of casting resin. A creek like this, especially in the summer, wouldn't carry a lot of water anyway, so all I would have done would be to have built up a shallow trickle along the bottom of the creek, touching up any areas where the resin had crept up.